Vite(JavaScript)

了解如何创建可与 ElevenLabs AI 智能体进行语音对话的 Web 应用

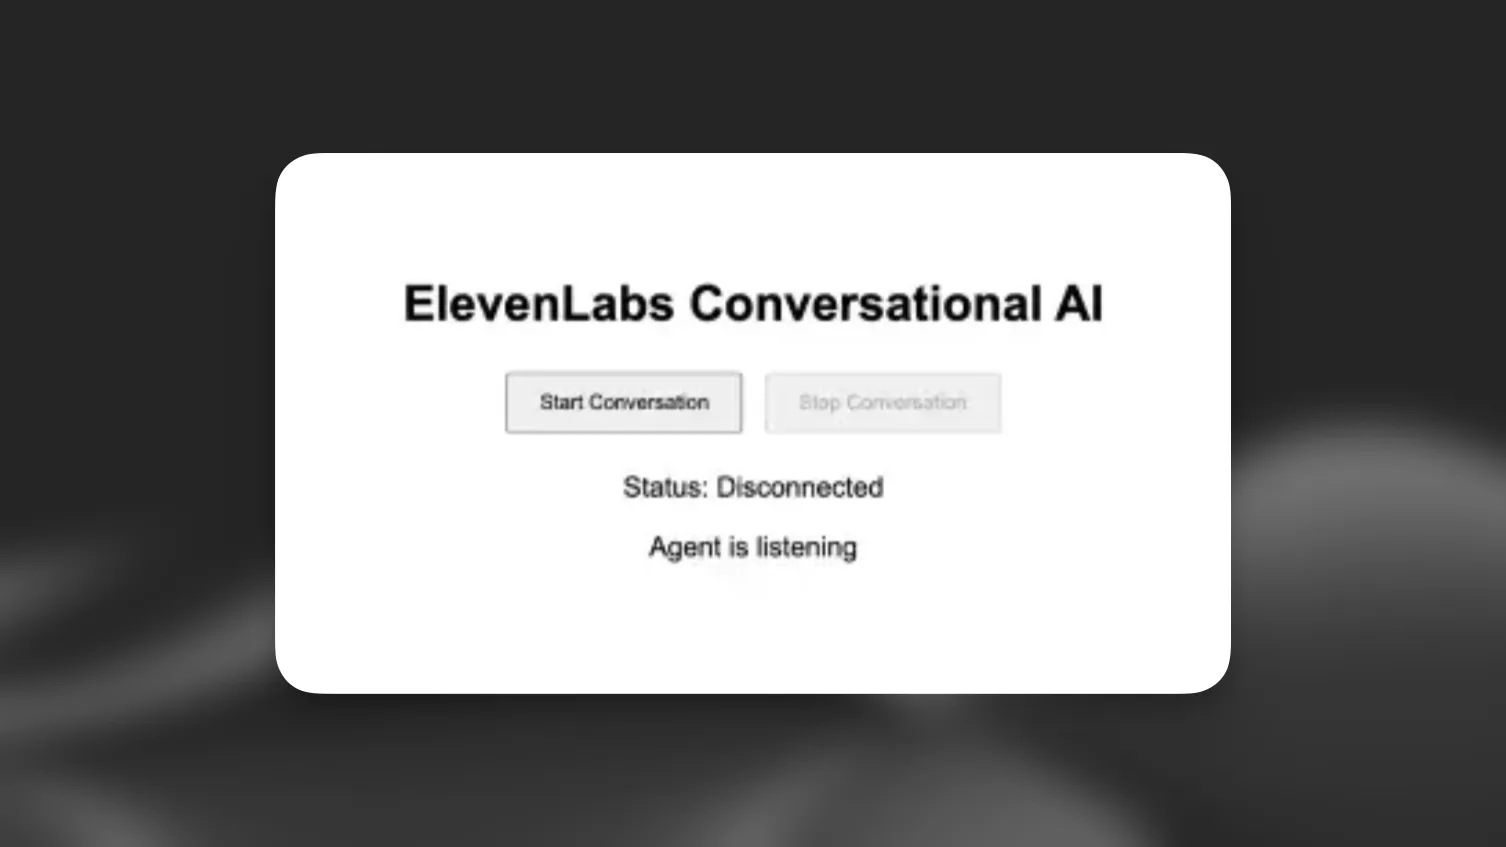
本教程将指导你创建一个可与 ElevenLabs 智能体交互的 Web 客户端。你将了解如何实现实时语音对话,让用户能与可通过语音合成进行聆听、理解和自然回应的 AI 智能体交流。

想使用 React/Next.js 构建?查看我们的 Next.js 指南

所需内容

  1. 按照本指南创建的 ElevenLabs 智能体
  2. 本地系统已安装 npm
  3. 基础 JavaScript 知识

项目设置

1

创建项目目录

打开终端并为项目创建一个新目录:

mkdir elevenlabs-conversational-ai
cd elevenlabs-conversational-ai
2

初始化 npm 并安装依赖

初始化一个新的 npm 项目并安装所需软件包:

npm init -y
npm install vite @elevenlabs/client
3

设置基本项目结构

将以下内容添加到 package.json:

package.json
{
"scripts": {
...
"dev:frontend": "vite"
}
}

创建以下文件结构:

elevenlabs-conversational-ai/
├── index.html
├── script.js
├── package-lock.json
├── package.json
└── node_modules

实现语音聊天界面

1

创建 HTML 界面

在 index.html 中设置一个简单的用户界面:

index.html
<!DOCTYPE html>
<html lang="en">
<head>
<meta charset="UTF-8" />
<meta name="viewport" content="width=device-width, initial-scale=1.0" />
<title>ElevenLabs Agents</title>
</head>
<body style="font-family: Arial, sans-serif; text-align: center; padding: 50px;">
<h1>ElevenLabs Agents</h1>
<div style="margin-bottom: 20px;">
<button id="startButton" style="padding: 10px 20px; margin: 5px;">Start Conversation</button>
<button id="stopButton" style="padding: 10px 20px; margin: 5px;" disabled>Stop Conversation</button>
</div>
<div style="font-size: 18px;">
<p>Status: <span id="connectionStatus">Disconnected</span></p>
<p>Agent is <span id="agentStatus">listening</span></p>
</div>
<script type="module" src="../images/script.js"></script>
</body>
</html>
2

实现对话逻辑

在 script.js 中实现功能:

script.js
import { Conversation } from '@elevenlabs/client';
const startButton = document.getElementById('startButton');
const stopButton = document.getElementById('stopButton');
const connectionStatus = document.getElementById('connectionStatus');
const agentStatus = document.getElementById('agentStatus');
let conversation;
async function startConversation() {
try {
// Request microphone permission
await navigator.mediaDevices.getUserMedia({ audio: true });
// Start the conversation
conversation = await Conversation.startSession({
agentId: 'YOUR_AGENT_ID', // Replace with your agent ID
onConnect: () => {
connectionStatus.textContent = 'Connected';
startButton.disabled = true;
stopButton.disabled = false;
},
onDisconnect: () => {
connectionStatus.textContent = 'Disconnected';
startButton.disabled = false;
stopButton.disabled = true;
},
onError: (error) => {
console.error('Error:', error);
},
onModeChange: (mode) => {
agentStatus.textContent = mode.mode === 'speaking' ? 'speaking' : 'listening';
},
});
} catch (error) {
console.error('Failed to start conversation:', error);
}
}
async function stopConversation() {
if (conversation) {
await conversation.endSession();
conversation = null;
}
}
startButton.addEventListener('click', startConversation);
stopButton.addEventListener('click', stopConversation);
3

启动前端服务器

npm run dev:frontend
请将 'YOUR_AGENT_ID' 替换为 ElevenLabs 中实际的智能体 ID。

此身份验证步骤仅适用于私有智能体。如果使用公开智能体,可以跳过此部分,直接在 startSession 调用中使用 agentId。

1

创建环境变量

在项目根目录创建 .env 文件:

.env
ELEVENLABS_API_KEY=your-api-key-here
AGENT_ID=your-agent-id-here

请务必将 .env 添加到 .gitignore 文件中,避免意外提交敏感凭据。

2

设置后端

  1. 安装额外依赖:
npm install express cors dotenv
  1. 创建一个名为 backend 的新文件夹:
elevenlabs-conversational-ai/
├── backend
...
3

创建服务器

backend/server.js
require("dotenv").config();
const express = require("express");
const cors = require("cors");
const app = express();
app.use(cors());
app.use(express.json());
const PORT = process.env.PORT || 3001;
app.get("/api/get-signed-url", async (req, res) => {
try {
const response = await fetch(
`https://api.elevenlabs.io/v1/convai/conversation/get-signed-url?agent_id=${process.env.AGENT_ID}`,
{
headers: {
"xi-api-key": process.env.ELEVENLABS_API_KEY,
},
}
);
if (!response.ok) {
throw new Error("Failed to get signed URL");
}
const data = await response.json();
res.json({ signedUrl: data.signed_url });
} catch (error) {
console.error("Error:", error);
res.status(500).json({ error: "Failed to generate signed URL" });
}
});
app.listen(PORT, () => {
console.log(`Server running on http://localhost:${PORT}`);
});
4

更新客户端代码

修改 script.js 以获取并使用签名 URL:

script.js
// ... existing imports and variables ...
async function getSignedUrl() {
const response = await fetch('http://localhost:3001/api/get-signed-url');
if (!response.ok) {
throw new Error(`Failed to get signed url: ${response.statusText}`);
}
const { signedUrl } = await response.json();
return signedUrl;
}
async function startConversation() {
try {
await navigator.mediaDevices.getUserMedia({ audio: true });
const signedUrl = await getSignedUrl();
conversation = await Conversation.startSession({
signedUrl,
// agentId has been removed...
onConnect: () => {
connectionStatus.textContent = 'Connected';
startButton.disabled = true;
stopButton.disabled = false;
},
onDisconnect: () => {
connectionStatus.textContent = 'Disconnected';
startButton.disabled = false;
stopButton.disabled = true;
},
onError: (error) => {
console.error('Error:', error);
},
onModeChange: (mode) => {
agentStatus.textContent = mode.mode === 'speaking' ? 'speaking' : 'listening';
},
});
} catch (error) {
console.error('Failed to start conversation:', error);
}
}
// ... rest of the code ...

签名 URL 会在短时间后过期。不过,在过期前发起的任何对话都将持续进行,不会中断。在生产环境中,应针对发起新对话实现适当的错误处理和 URL 刷新逻辑。

5

更新 package.json

package.json
{
"scripts": {
...
"dev:backend": "node backend/server.js",
"dev": "npm run dev:frontend & npm run dev:backend"
}
}
6

运行应用

使用以下命令启动应用:

npm run dev

后续步骤

现在你已有基本实现,可以:

  1. 添加语音活动的视觉反馈
  2. 实现错误处理和重试逻辑
  3. 添加聊天记录显示
  4. 自定义 UI 以匹配品牌

如需更多高级功能和自定义选项,请查看 @elevenlabs/client 软件包。