Next.JS

了解如何创建支持与 ElevenLabs AI 智能体进行语音对话的 Web 应用

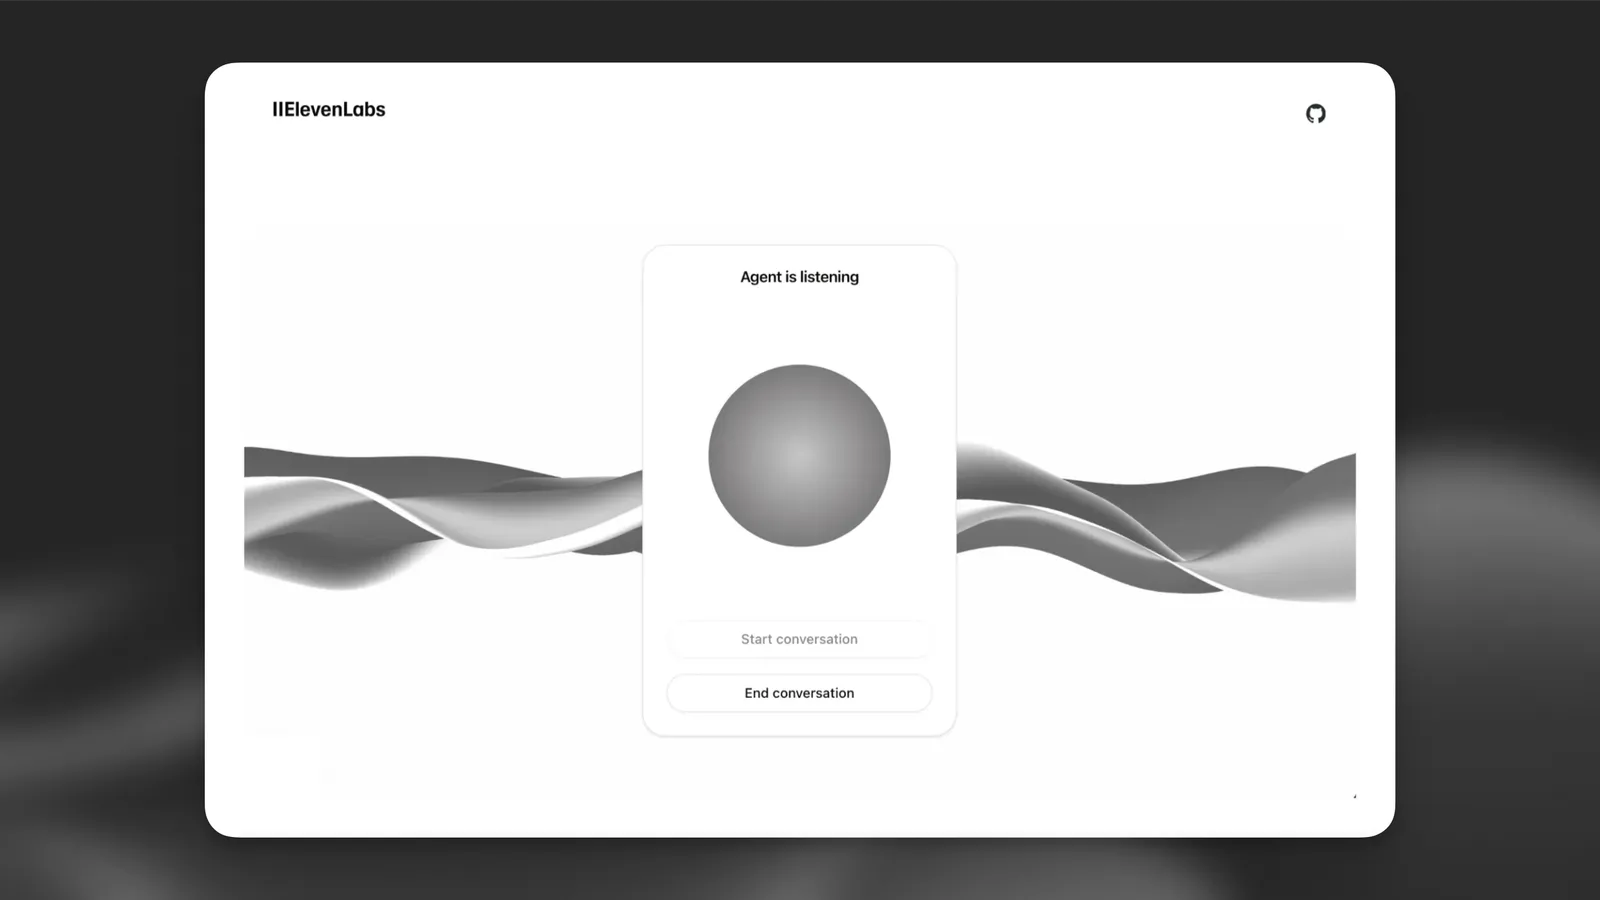
本教程将指导你创建一个可与 ElevenLabs 智能体交互的 Web 客户端。你将学习如何实现实时语音对话,让用户能够与可聆听、理解并通过语音合成自然回应的 AI 智能体交谈。

所需准备

  1. 按照本指南创建的 ElevenLabs 智能体
  2. 本地系统已安装 npm。
  3. 本教程使用 Typescript,但你也可以使用 Javascript。

需要完整示例?查看我们的 GitHub 上的 Next.js 演示 。

设置

1

创建新的 Next.js 项目

打开终端窗口并运行以下命令:

npm create next-app my-conversational-agent

系统会询问一些有关项目构建方式的问题。本教程将采用默认建议。

2

进入项目目录

cd my-conversational-agent
3

安装 ElevenLabs 依赖项

npm install @elevenlabs/react
4

测试设置

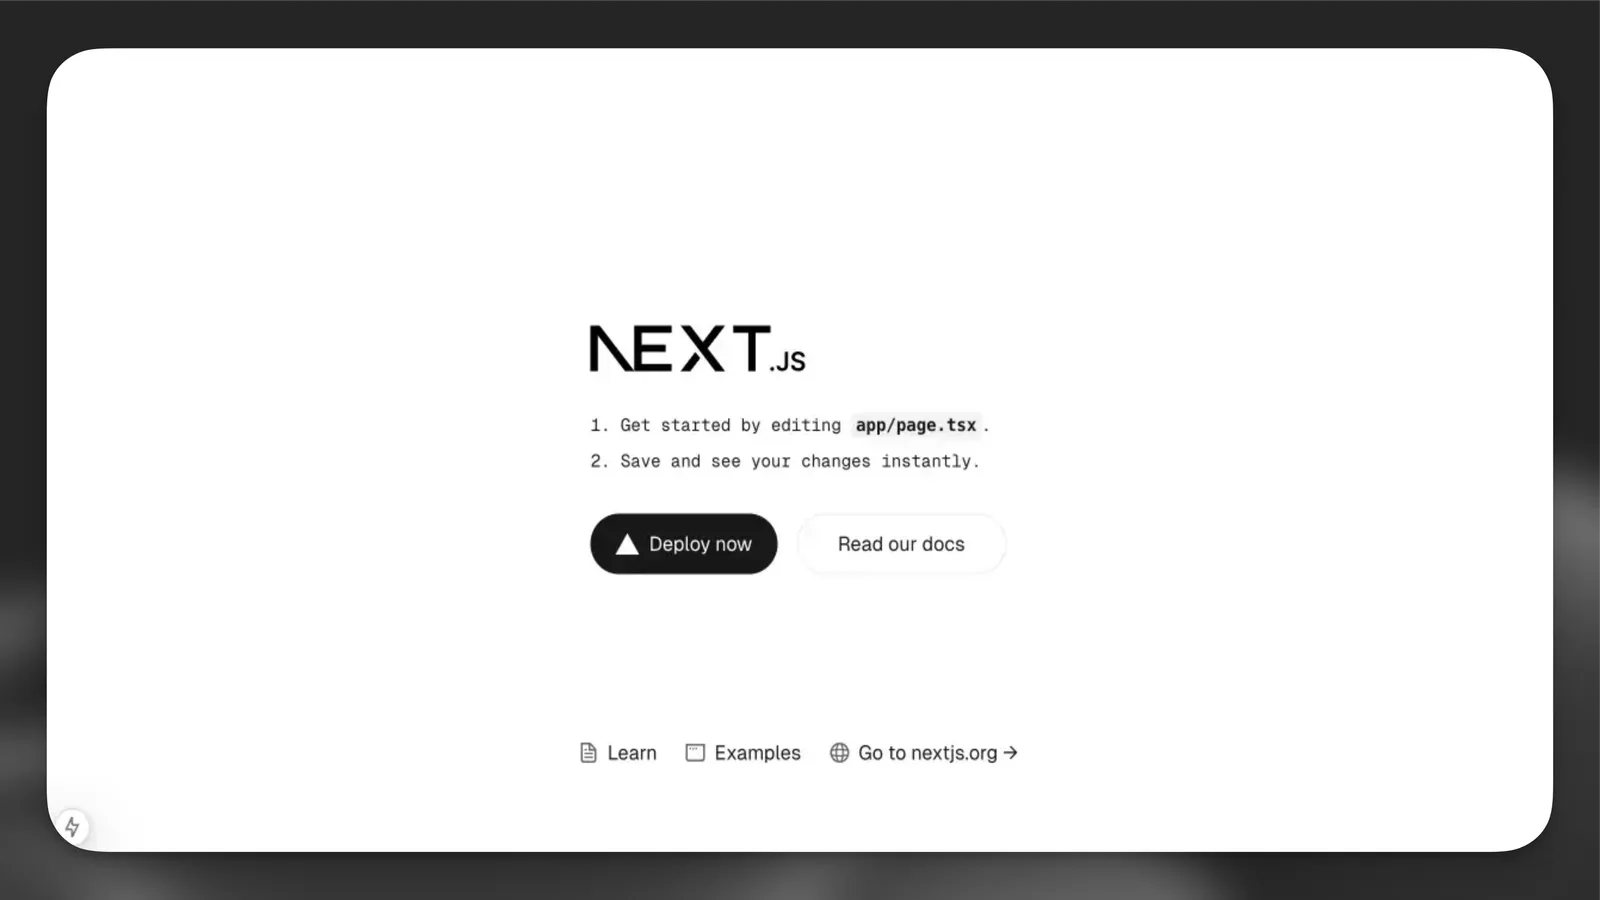
运行以下命令启动开发服务器,然后在浏览器中打开提供的 URL:

npm run dev

实现 ElevenLabs 智能体

1

创建对话组件

创建新文件 app/components/conversation.tsx:

app/components/conversation.tsx
'use client';
import { useConversation } from '@elevenlabs/react';
import { useCallback } from 'react';
export function Conversation() {
const conversation = useConversation({
onConnect: () => console.log('Connected'),
onDisconnect: () => console.log('Disconnected'),
onMessage: (message) => console.log('Message:', message),
onError: (error) => console.error('Error:', error),
});
const startConversation = useCallback(async () => {
try {
// Request microphone permission
await navigator.mediaDevices.getUserMedia({ audio: true });
// Start the conversation with your agent
await conversation.startSession({
agentId: 'YOUR_AGENT_ID', // Replace with your agent ID
userId: 'YOUR_CUSTOMER_USER_ID', // Optional field for tracking your end user IDs
});
} catch (error) {
console.error('Failed to start conversation:', error);
}
}, [conversation]);
const stopConversation = useCallback(async () => {
await conversation.endSession();
}, [conversation]);
return (
<div className="flex flex-col items-center gap-4">
<div className="flex gap-2">
<button
onClick={startConversation}
disabled={conversation.status === 'connected'}
className="px-4 py-2 bg-blue-500 text-white rounded disabled:bg-gray-300"
>
Start Conversation
</button>
<button
onClick={stopConversation}
disabled={conversation.status !== 'connected'}
className="px-4 py-2 bg-red-500 text-white rounded disabled:bg-gray-300"
>
Stop Conversation
</button>
</div>
<div className="flex flex-col items-center">
<p>Status: {conversation.status}</p>
<p>Agent is {conversation.isSpeaking ? 'speaking' : 'listening'}</p>
</div>
</div>
);
}
2

更新主页面

将 app/page.tsx 的内容替换为:

app/page.tsx
'use client';
import { ConversationProvider } from '@elevenlabs/react';
import { Conversation } from './components/conversation';
export default function Home() {
return (
<ConversationProvider>
<main className="flex min-h-screen flex-col items-center justify-between p-24">
<div className="z-10 max-w-5xl w-full items-center justify-between font-mono text-sm">
<h1 className="text-4xl font-bold mb-8 text-center">
ElevenLabs Agents
</h1>
<Conversation />
</div>
</main>
</ConversationProvider>
);
}

此身份验证步骤仅适用于私有智能体。如果使用公开智能体,可以跳过本节,直接在 startSession 调用中使用 agentId。

如果使用需要身份验证的私有智能体,需要从服务器生成 签名 URL。本节将说明如何进行设置。

所需准备

  1. ElevenLabs 账户和 API 密钥。在此处注册。
1

创建环境变量

在项目根目录创建 .env.local 文件:

.env.local
ELEVENLABS_API_KEY=your-api-key-here
NEXT_PUBLIC_AGENT_ID=your-agent-id-here
  1. 请务必将 .env.local 添加到 .gitignore 文件,防止意外将敏感凭据提交到版本控制系统。
  2. 切勿在客户端代码中暴露 API 密钥。请始终将其安全地保存在服务器上。
2

创建 API 路由

创建新文件 app/api/get-signed-url/route.ts:

app/api/get-signed-url/route.ts
import { NextResponse } from 'next/server';
export async function GET() {
try {
const response = await fetch(
`https://api.elevenlabs.io/v1/convai/conversation/get-signed-url?agent_id=${process.env.NEXT_PUBLIC_AGENT_ID}`,
{
headers: {
'xi-api-key': process.env.ELEVENLABS_API_KEY!,
},
}
);
if (!response.ok) {
throw new Error('Failed to get signed URL');
}
const data = await response.json();
return NextResponse.json({ signedUrl: data.signed_url });
} catch (error) {
return NextResponse.json(
{ error: 'Failed to generate signed URL' },
{ status: 500 }
);
}
}
3

更新 Conversation 组件

修改 conversation.tsx,以获取并使用签名 URL:

app/components/conversation.tsx
// ... existing imports ...
export function Conversation() {
// ... existing conversation setup ...
const getSignedUrl = async (): Promise<string> => {
const response = await fetch("/api/get-signed-url");
if (!response.ok) {
throw new Error(`Failed to get signed url: ${response.statusText}`);
}
const { signedUrl } = await response.json();
return signedUrl;
};
const startConversation = useCallback(async () => {
try {
// Request microphone permission
await navigator.mediaDevices.getUserMedia({ audio: true });
const signedUrl = await getSignedUrl();
// Start the conversation with your signed url
await conversation.startSession({
signedUrl,
});
} catch (error) {
console.error('Failed to start conversation:', error);
}
}, [conversation]);
// ... rest of the component ...
}

签名 URL 会在短时间后过期。不过,在过期前发起的对话不会中断。在生产环境中,应针对发起新对话实现适当的错误处理和 URL 刷新逻辑。

后续步骤

现在已有基本实现,你可以:

  1. 添加语音活动的视觉反馈
  2. 实现错误处理和重试逻辑
  3. 添加聊天记录显示
  4. 自定义 UI 以匹配品牌

如需更多高级功能和自定义选项,请查看 @elevenlabs/react 软件包。