Twilio native integration
Overview
This guide shows you how to connect a Twilio phone number to your ElevenLabs agent to handle both inbound and outbound calls.
You will learn to:
- Import an existing Twilio phone number.
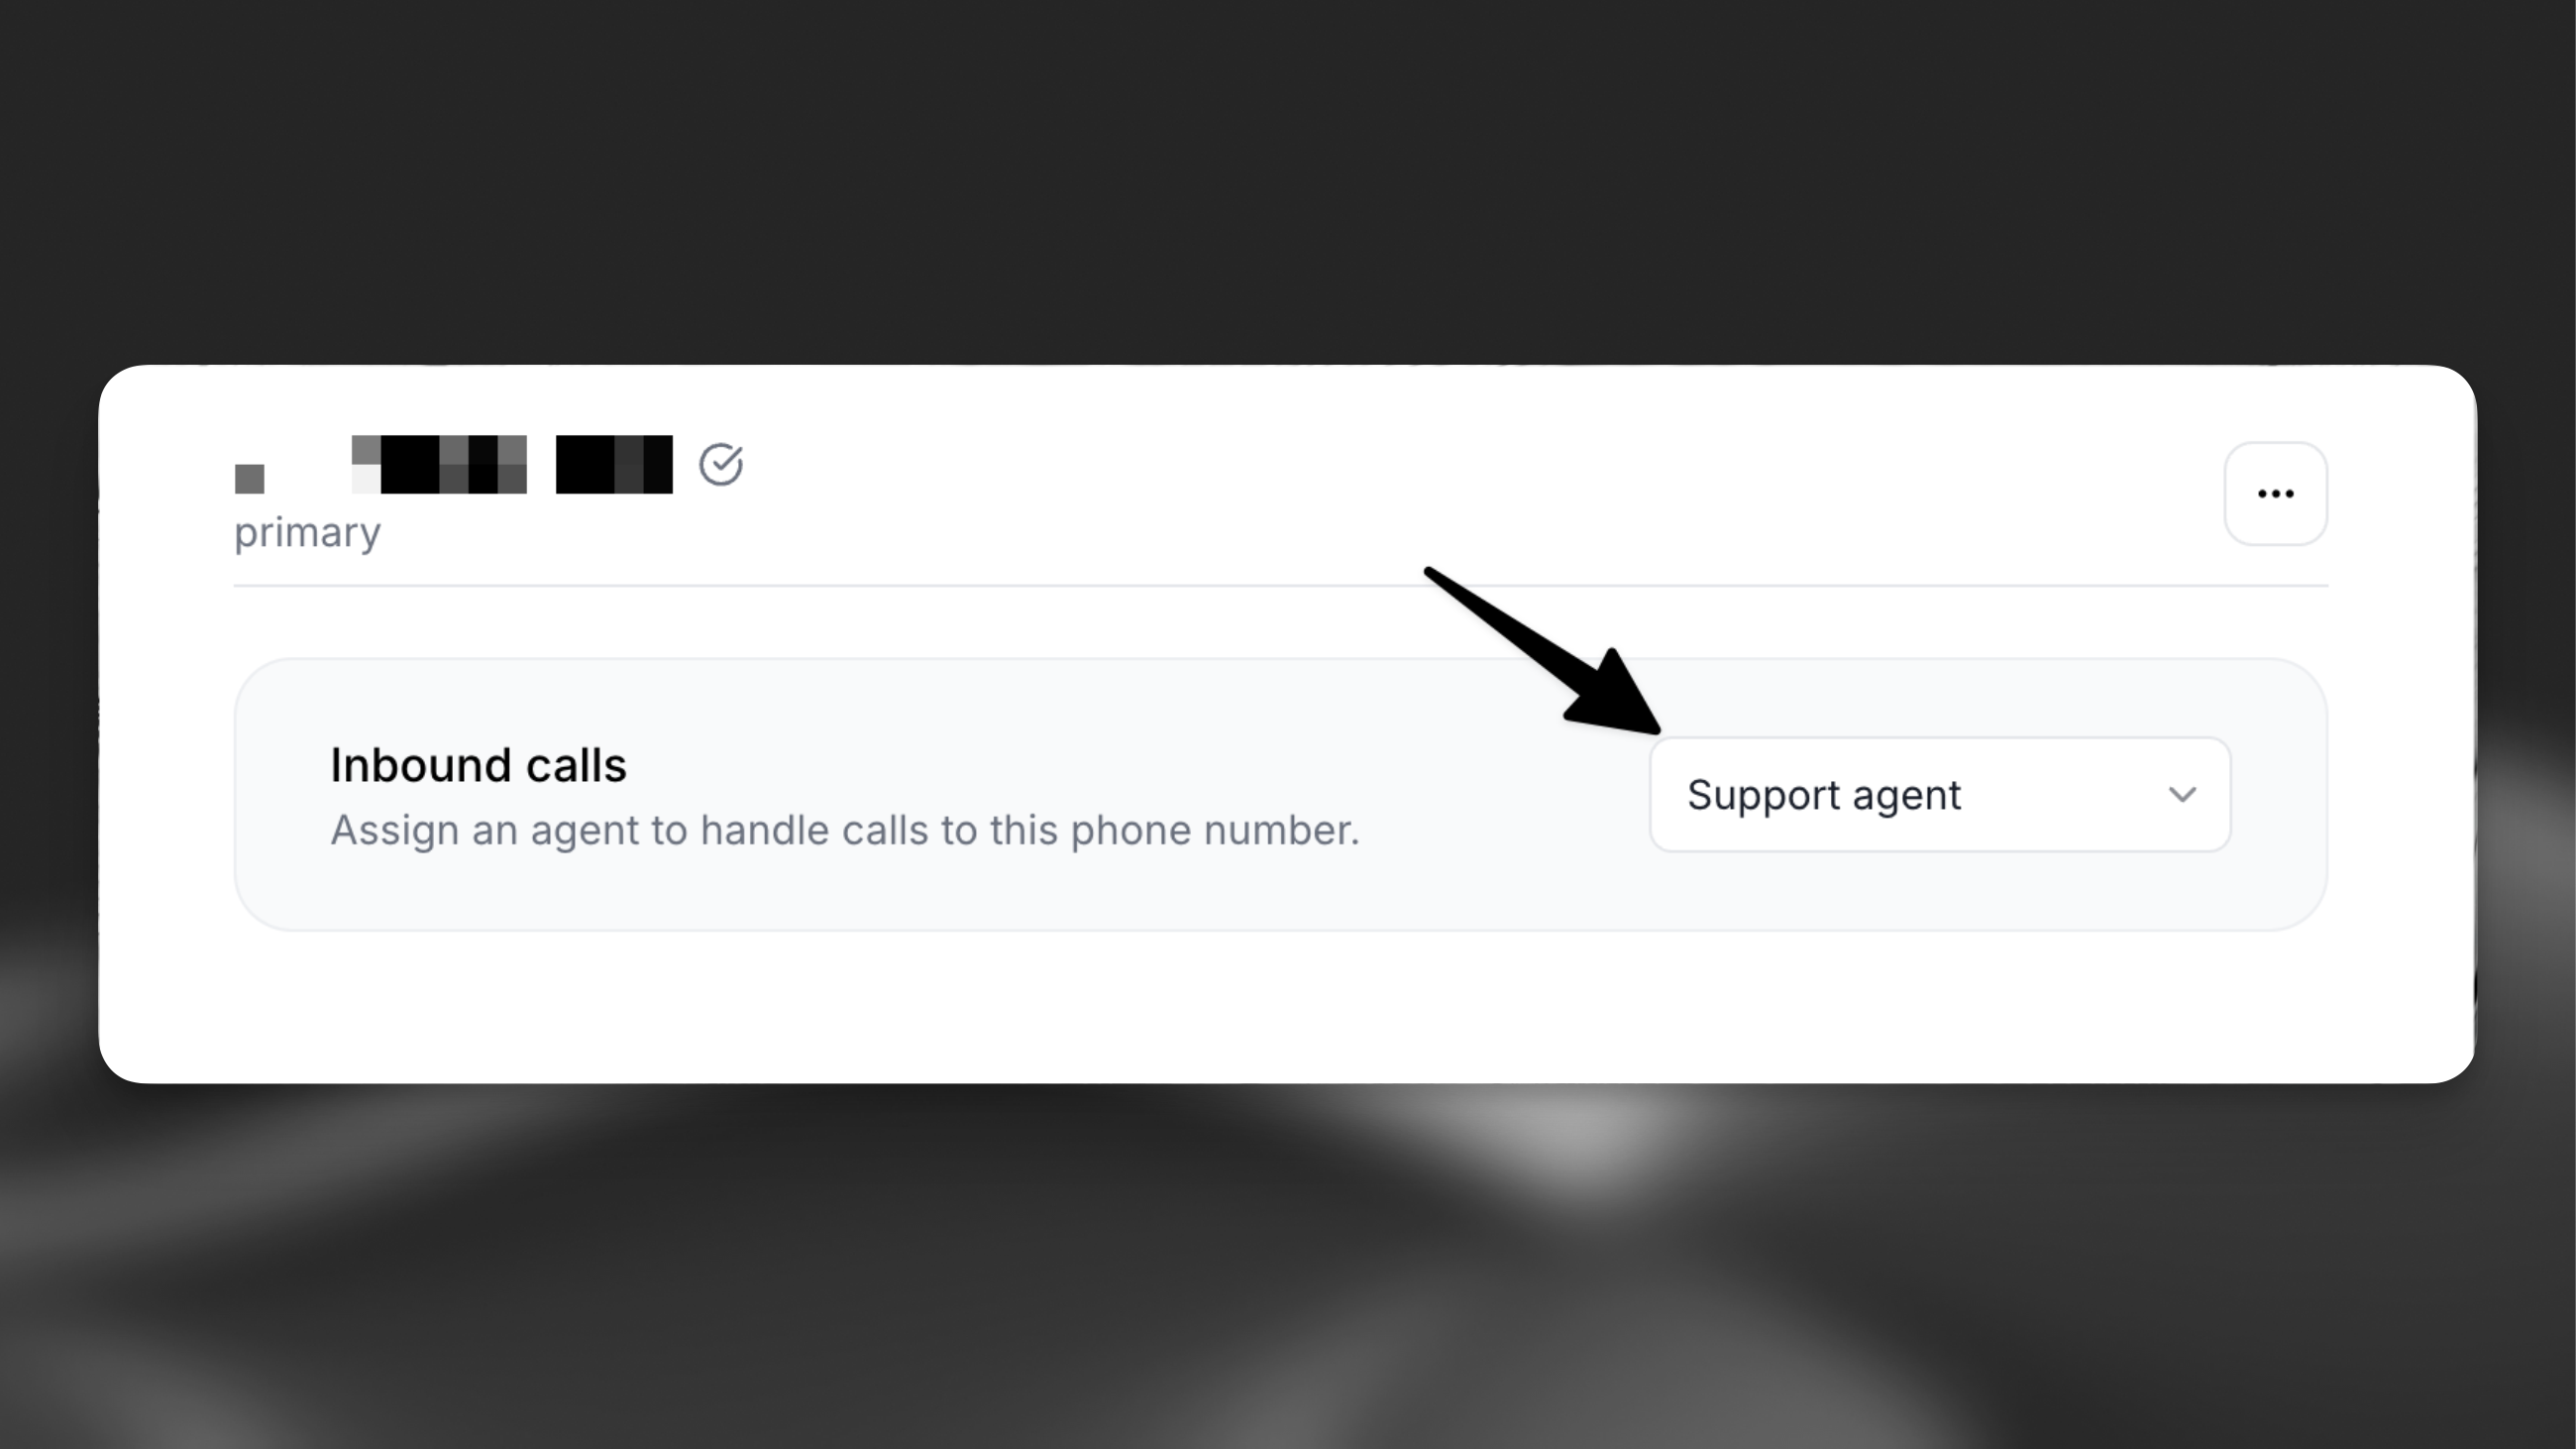
- Link it to your agent to handle inbound calls.
- Initiate outbound calls using your agent.
Phone Number Types & Capabilities
ElevenLabs supports two types of Twilio phone numbers with different capabilities:
Purchased Twilio Numbers (Full Support)
- Inbound calls: Supported - Can receive calls and route them to agents
- Outbound calls: Supported - Can make calls using agents
- Requirements: Number must be purchased through Twilio and appear in your “Phone Numbers” section
Verified Caller IDs (Outbound Only)
- Inbound calls: Not supported - Cannot receive calls or be assigned to agents
- Outbound calls: Supported - Can make calls using agents
- Requirements: Number must be verified in Twilio’s “Verified Caller IDs” section
- Use case: Ideal for using your existing business number for outbound AI calls
Learn more about verifying caller IDs at scale in Twilio’s documentation.
During phone number import, ElevenLabs automatically detects the capabilities of your number based on its configuration in Twilio.
Guide
Prerequisites
- A Twilio account.
- Either:
- A purchased & provisioned Twilio phone number (for inbound + outbound)
- OR a verified caller ID in Twilio (for outbound only)
Import a Twilio phone number
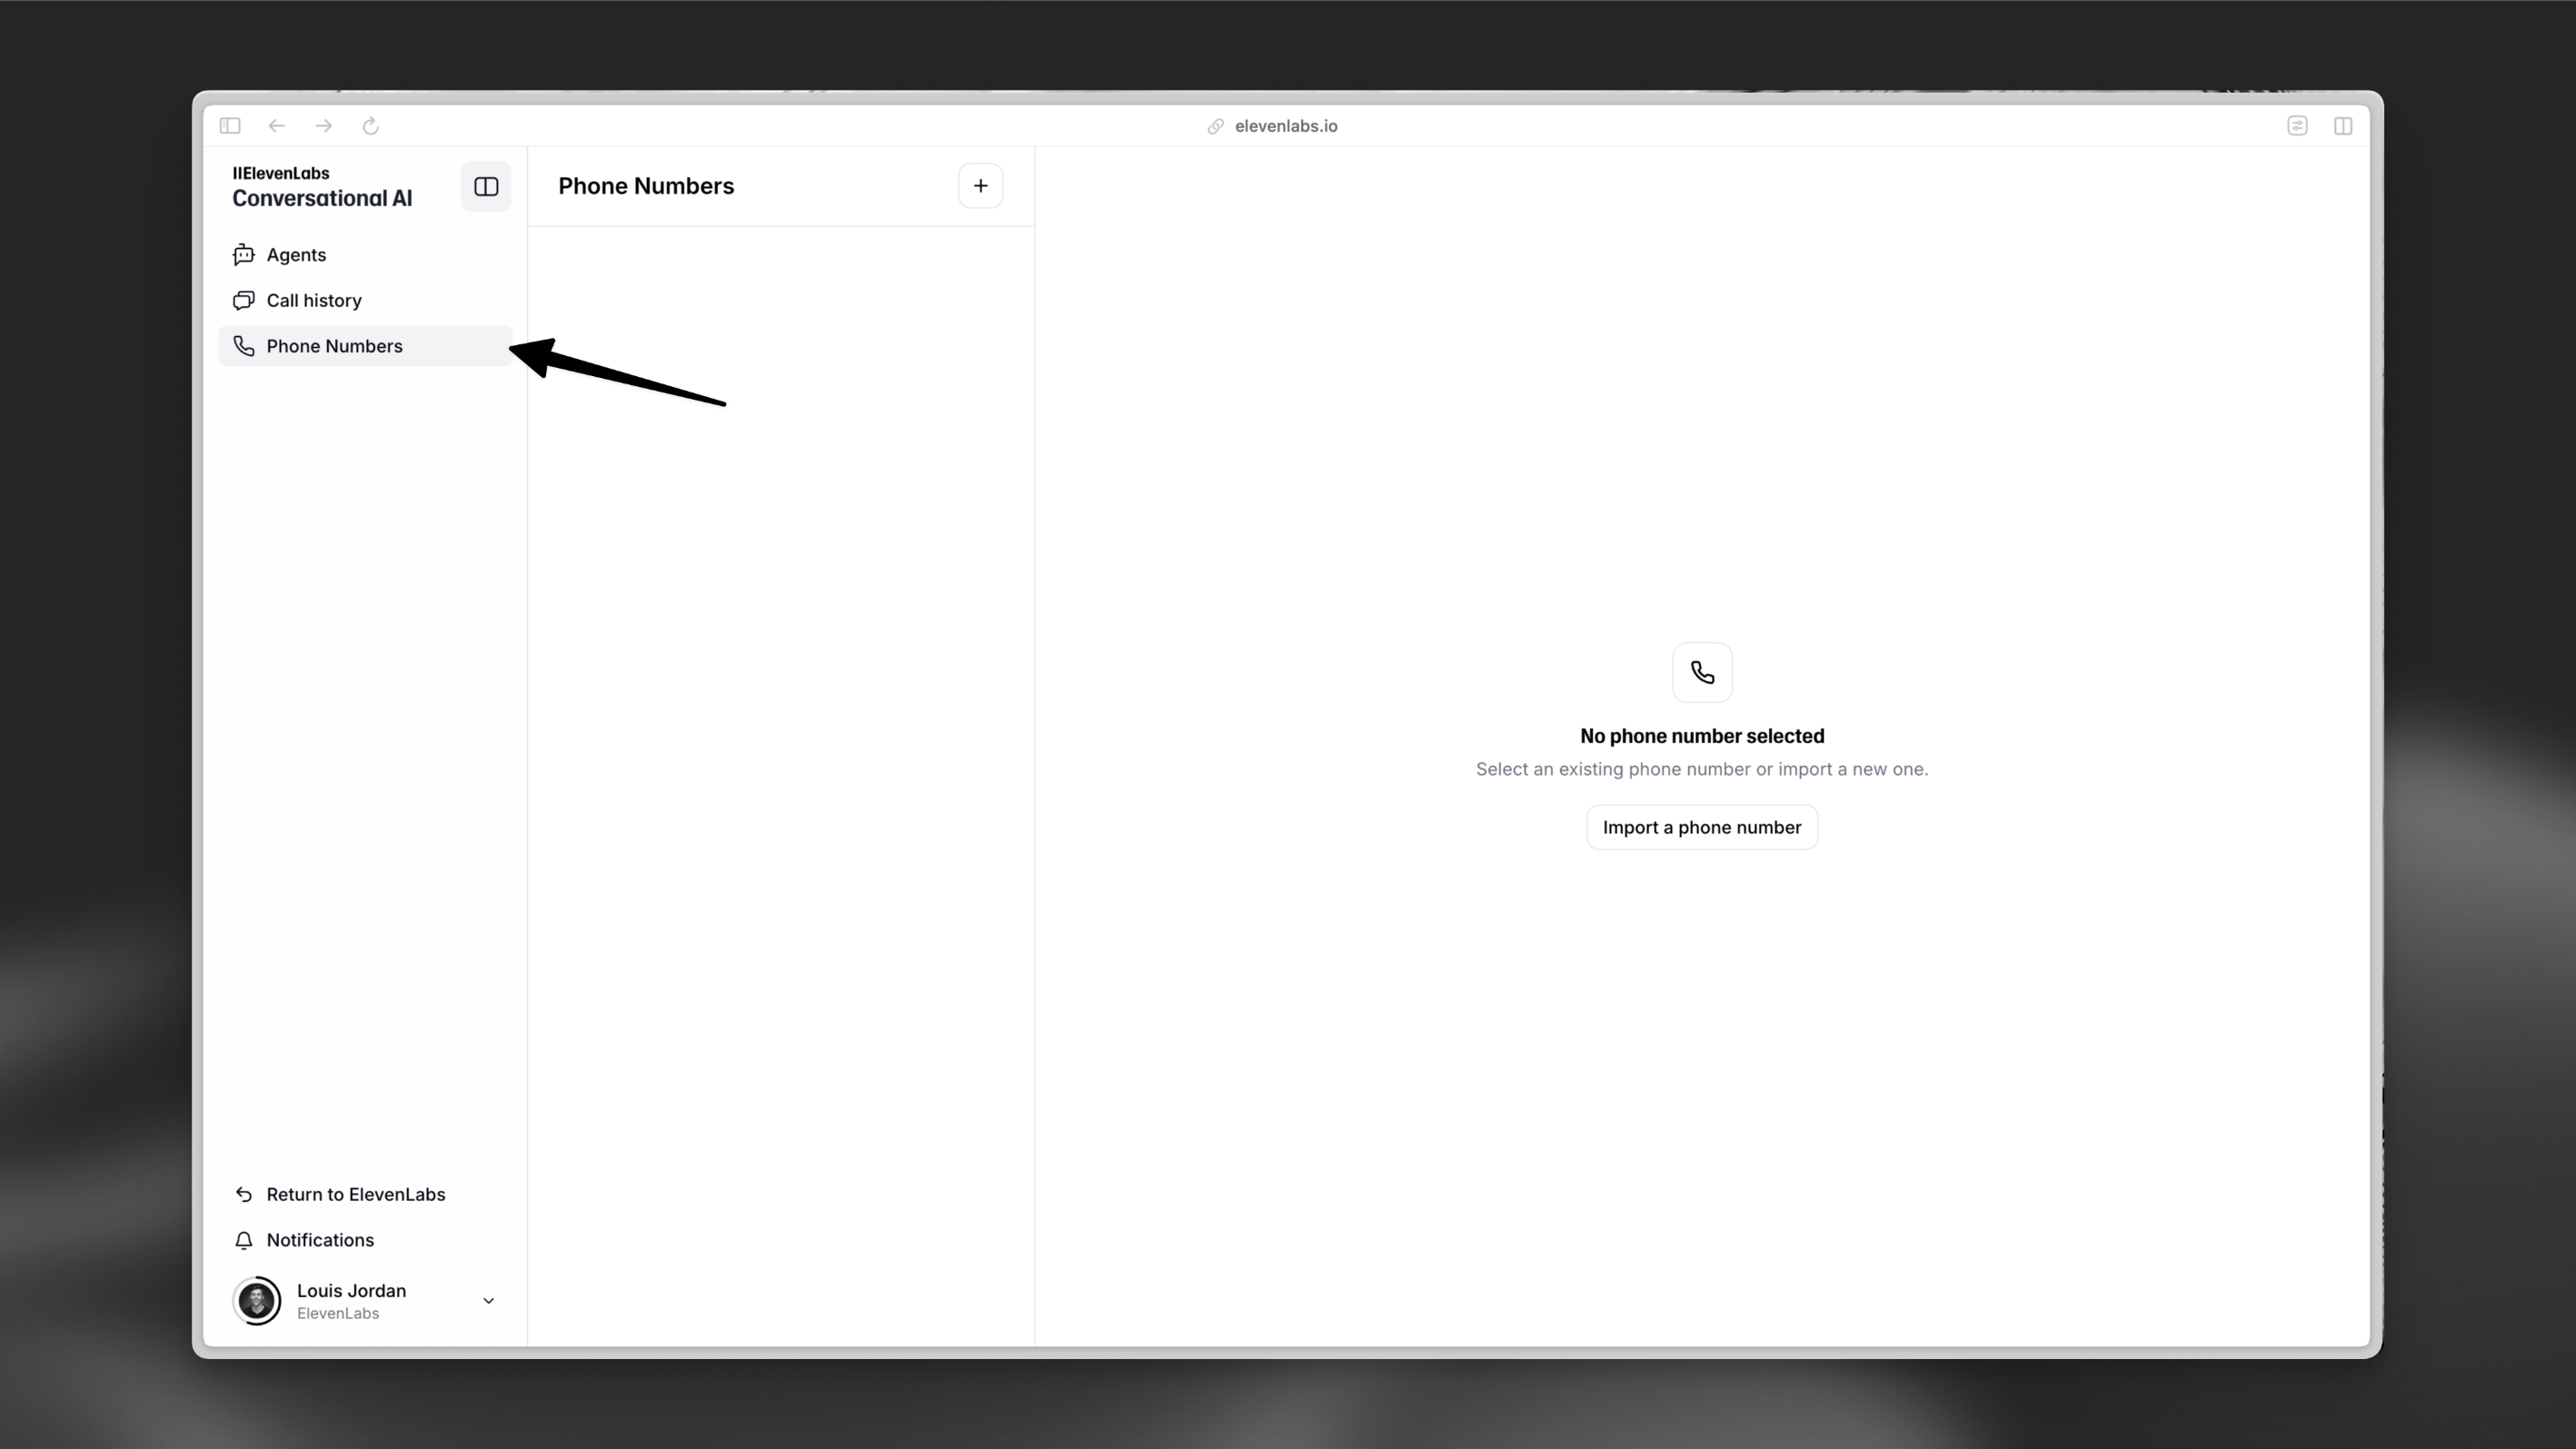
In the Agents Platform dashboard, go to the Phone Numbers tab.
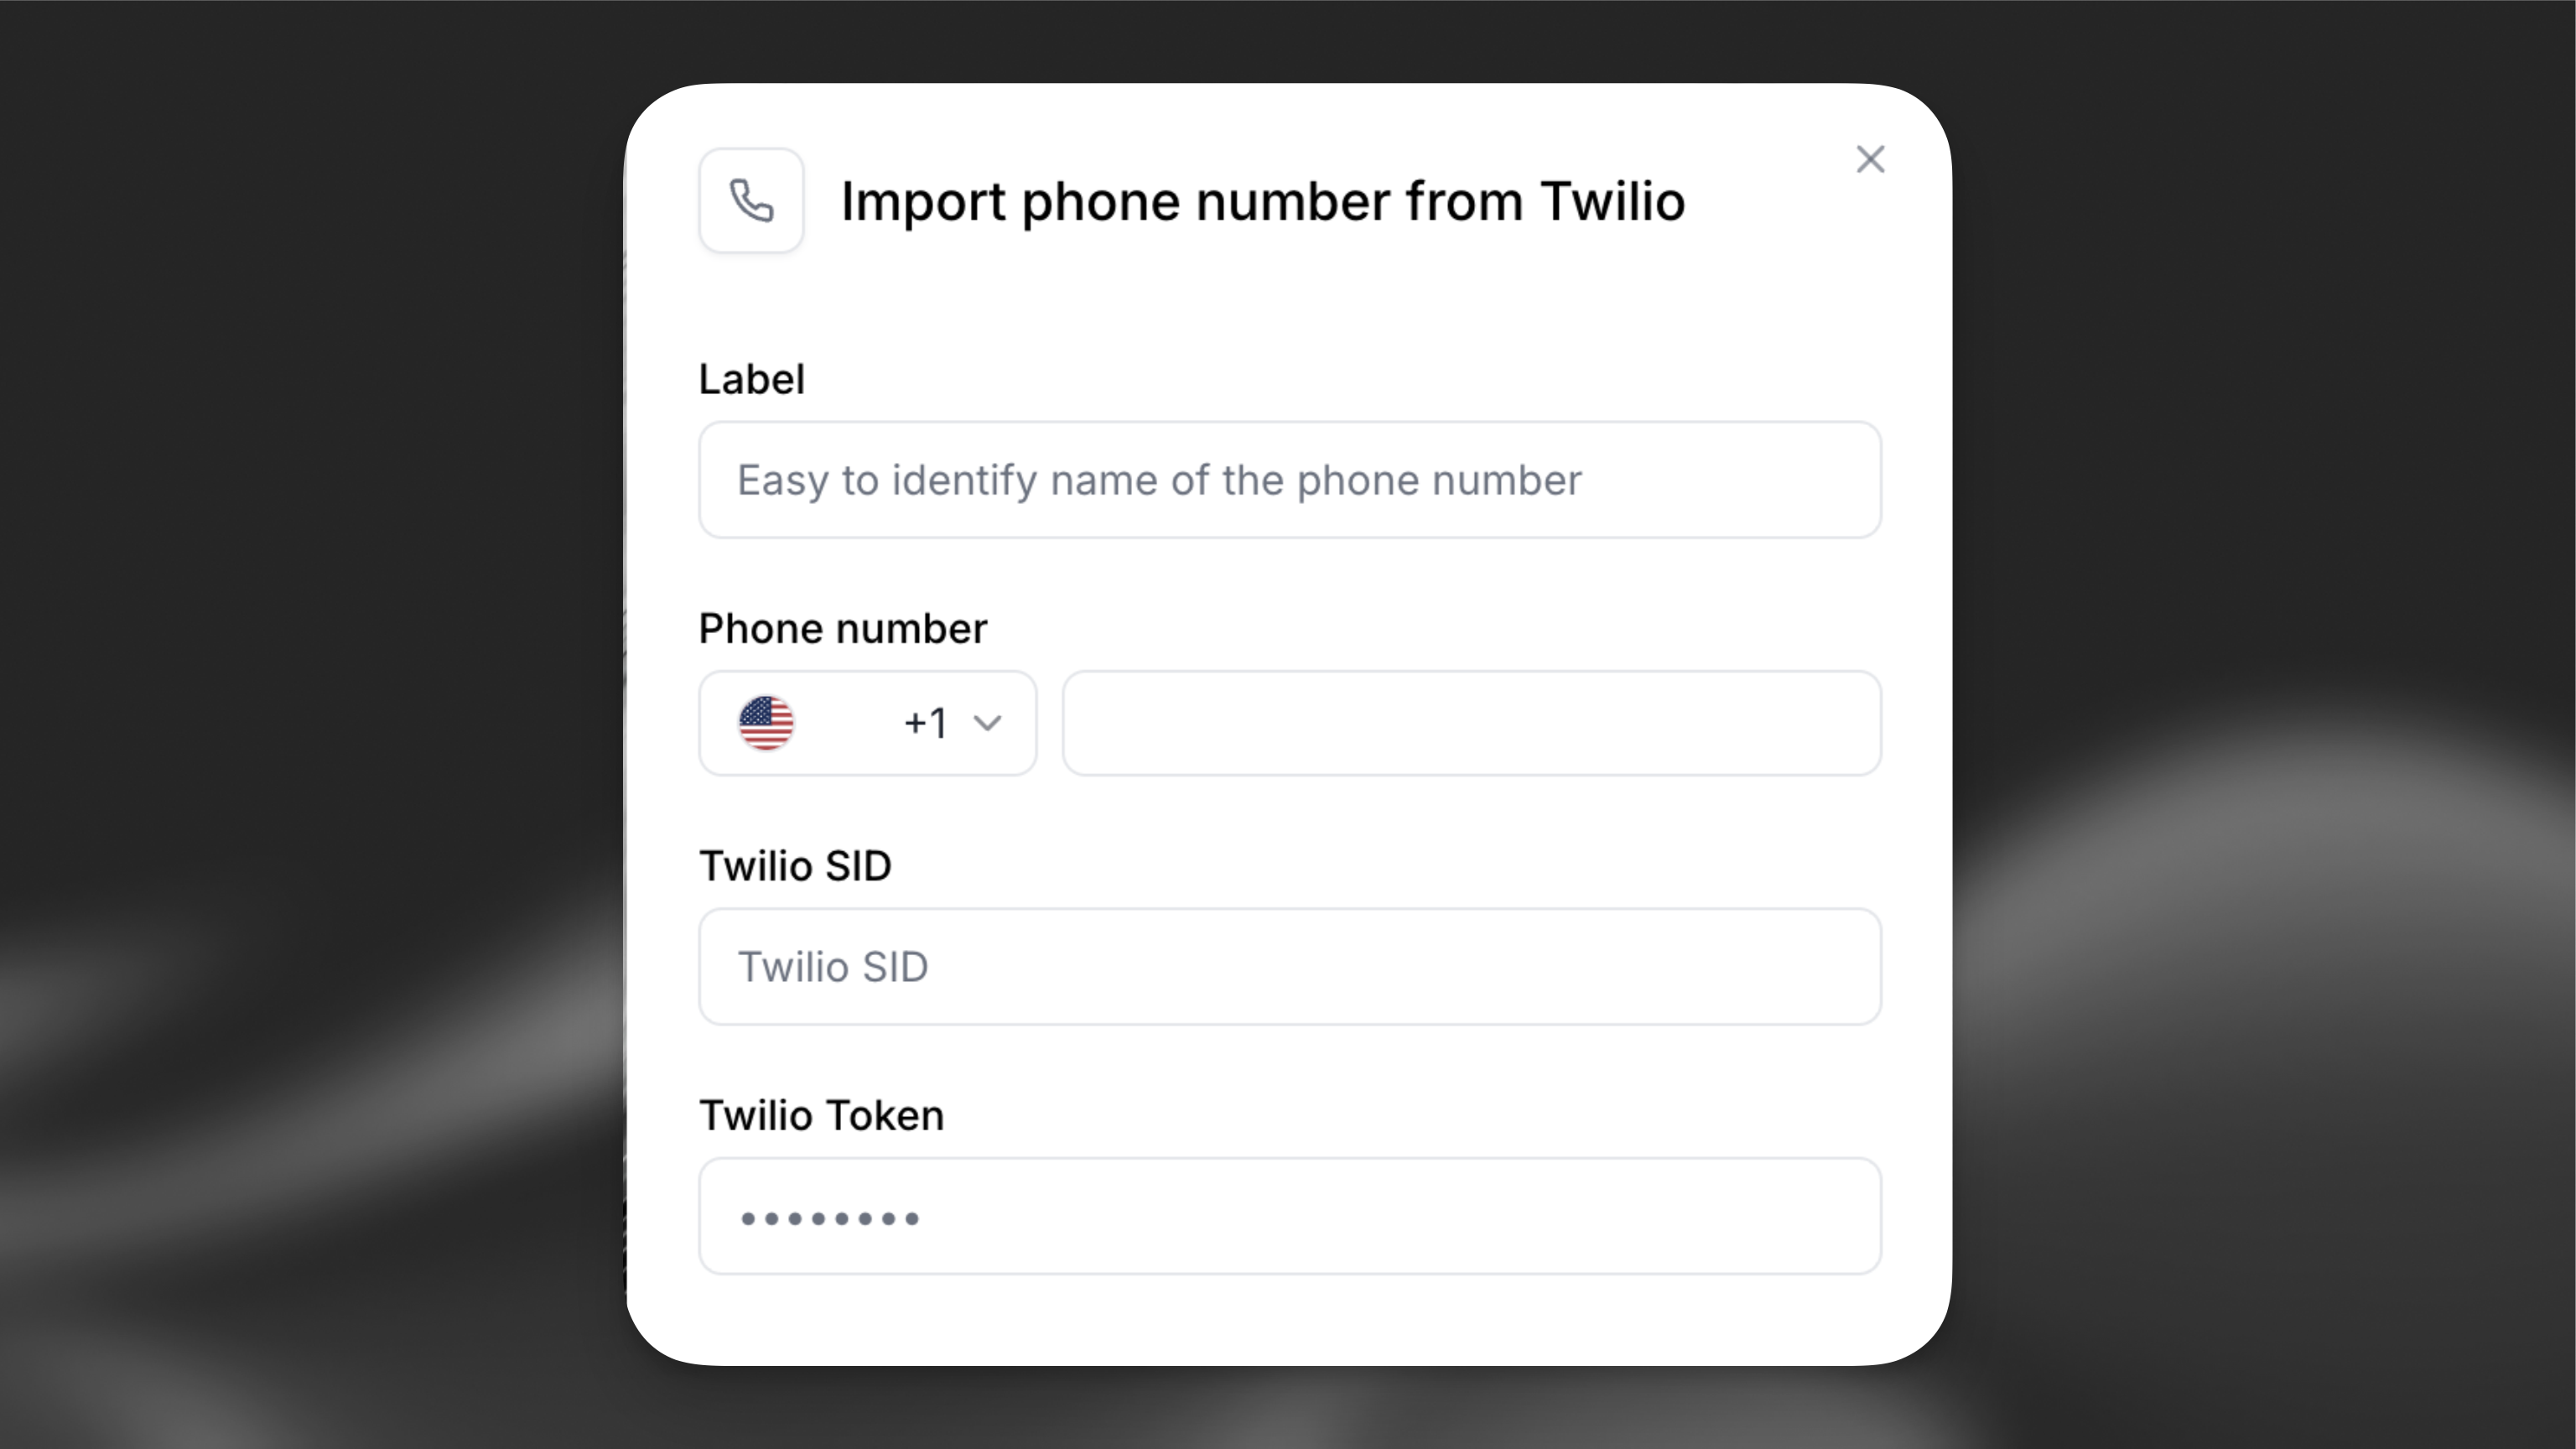
Next, fill in the following details:
- Label: A descriptive name (e.g.,
Customer Support Line). - Phone Number: The Twilio number you want to use.
- Twilio SID: Your Twilio Account SID.
- Twilio Token: Your Twilio Auth Token.
You can find your account SID and auth token in the Twilio admin console.
Agents Platform dashboard
Twilio admin console
Applied settings
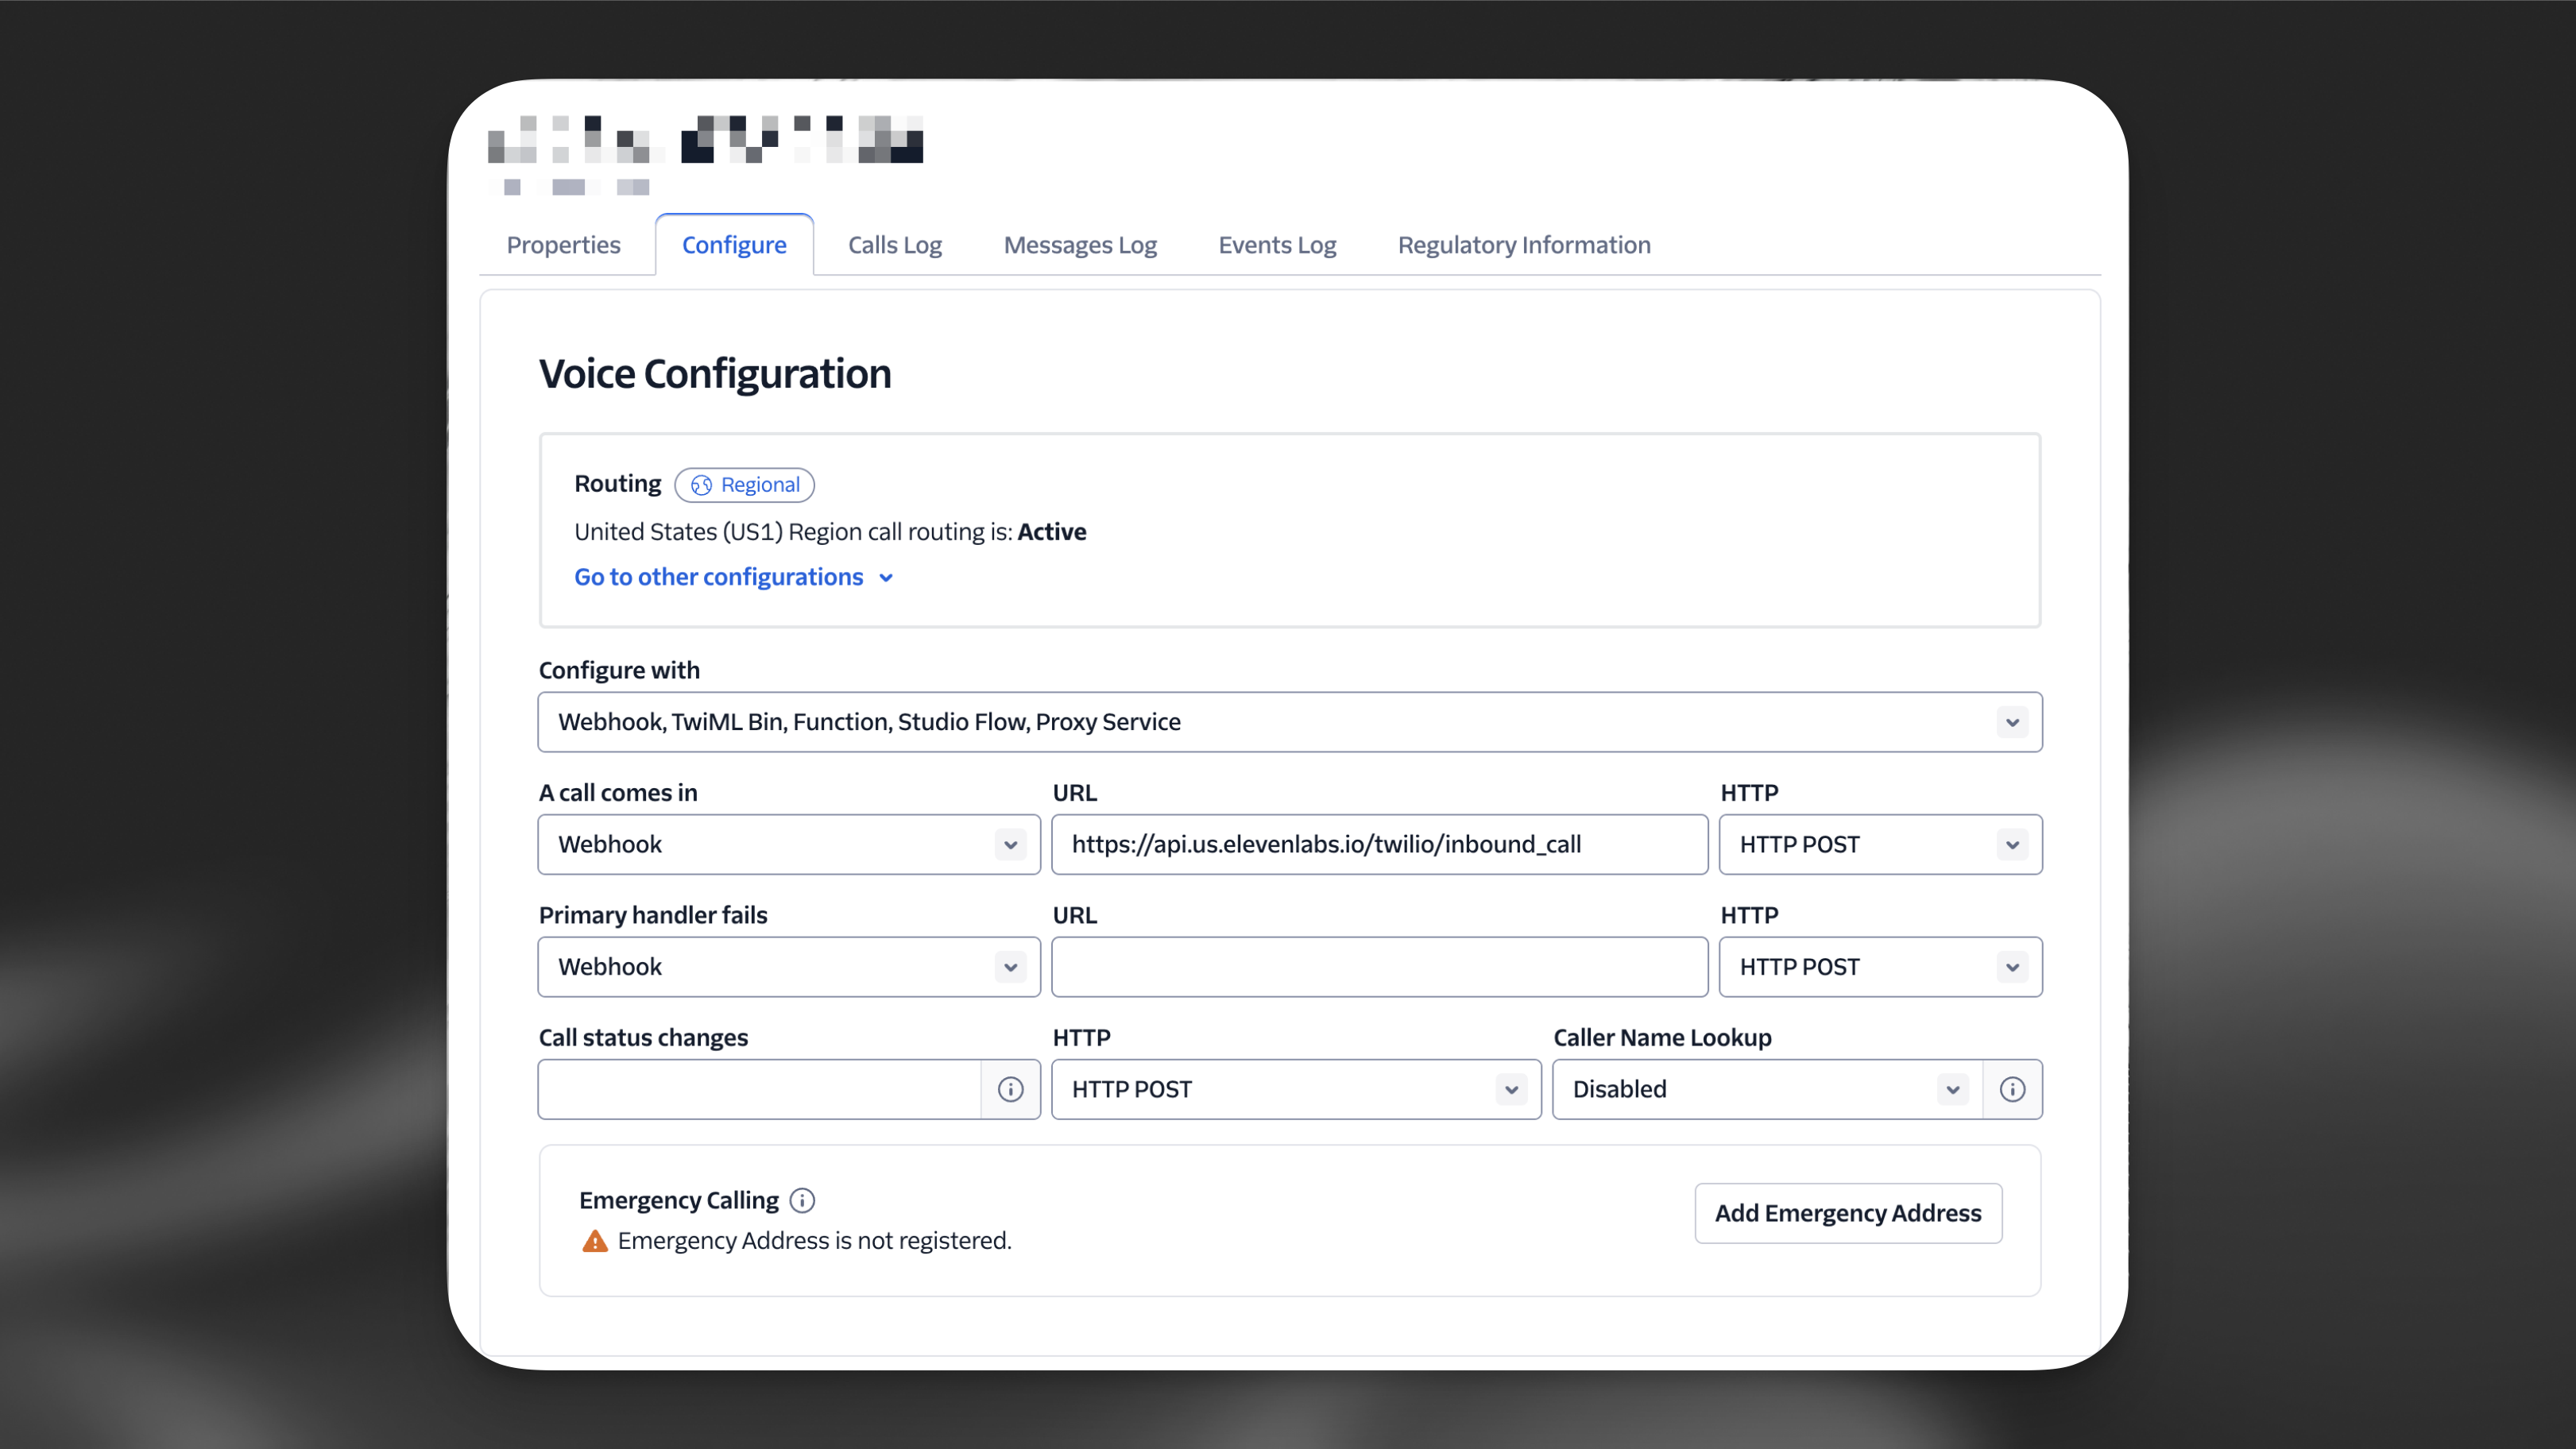
Phone Number Detection: ElevenLabs will automatically detect whether your number supports:
- Inbound + Outbound: Numbers purchased through Twilio
- Outbound Only: Numbers verified as caller IDs in Twilio
If your number is not found in either category, you’ll receive an error asking you to verify it exists in your Twilio account.
Test the agent by giving the phone number a call. Your agent is now ready to handle inbound calls and engage with your customers.
Monitor your first few calls in the Calls History dashboard to ensure everything is working as expected.
Making Outbound Calls
Both purchased Twilio numbers and verified caller IDs can be used for outbound calls. The outbound call button will be disabled for numbers that don’t support outbound calling.
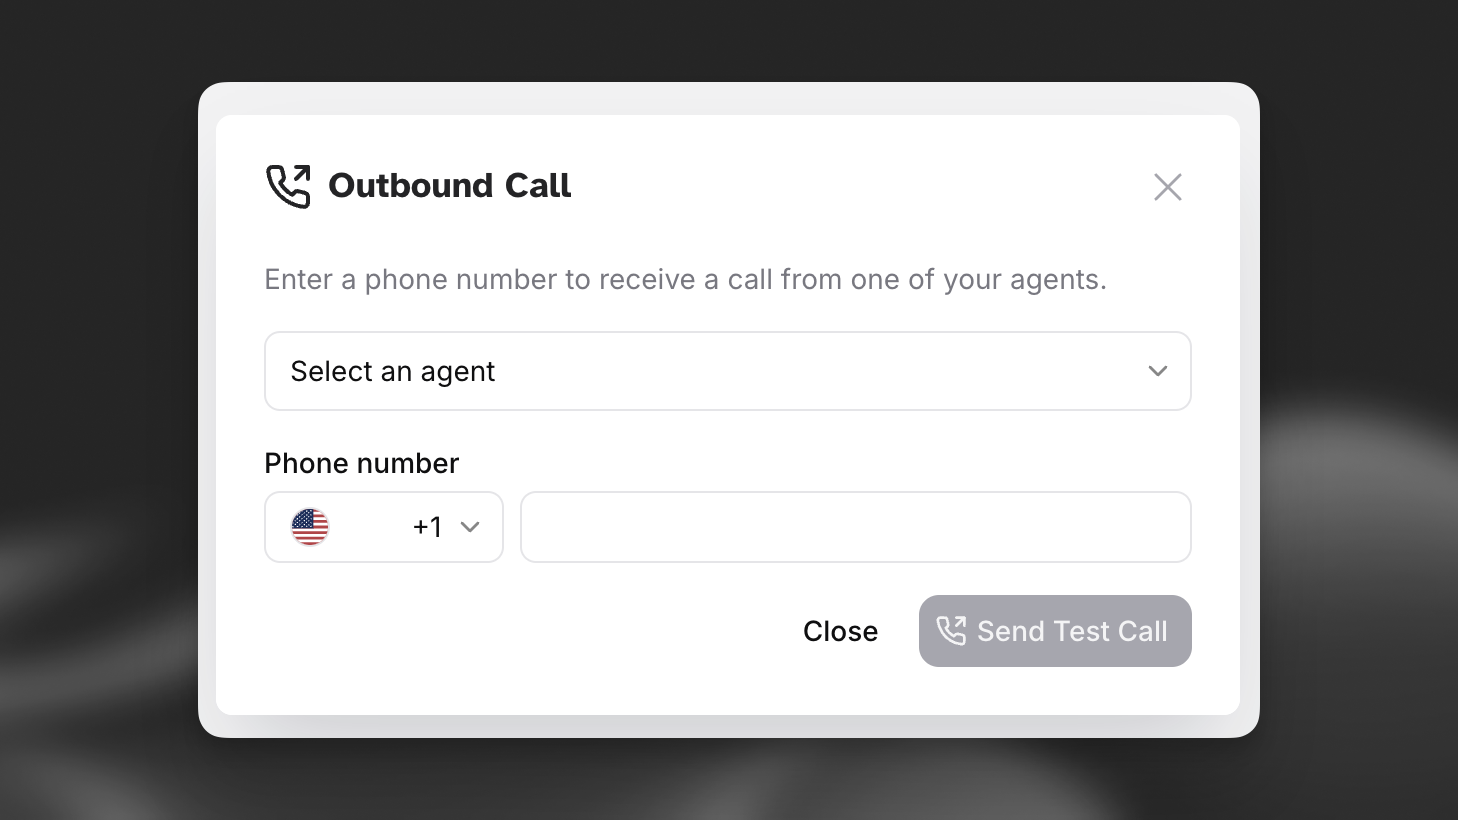
Your imported Twilio phone number can also be used to initiate outbound calls where your agent calls a specified phone number.
Initiate an outbound call
From the Phone Numbers tab, locate your imported Twilio number and click the Outbound call button.
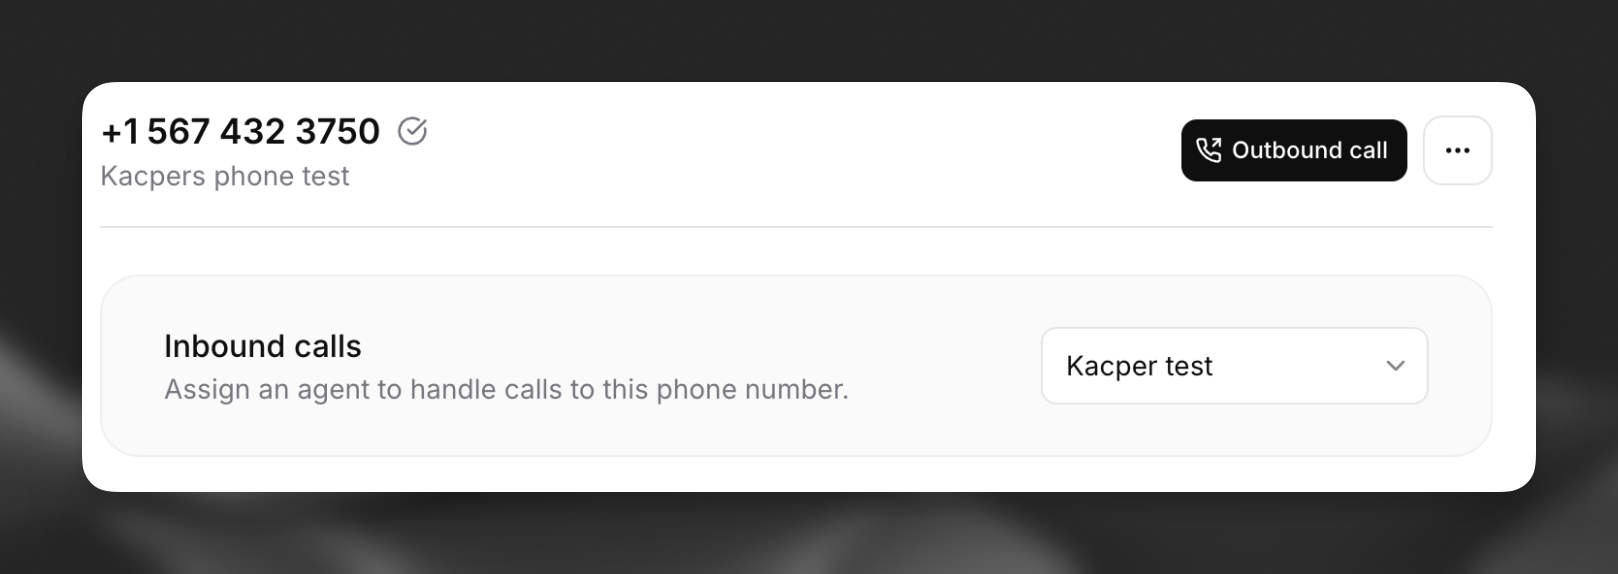
Once initiated, the recipient will receive a call from your Twilio number. When they answer, your agent will begin the conversation.
Outbound calls appear in your Calls History dashboard alongside inbound calls, allowing you to review all conversations.
When making outbound calls, your agent will be the initiator of the conversation, so ensure your agent has appropriate initial messages configured to start the conversation effectively.
