Learn how to create a web application that enables voice conversations with ElevenLabs AI agents

This tutorial will guide you through creating a web client that can interact with a Conversational AI agent. You’ll learn how to implement real-time voice conversations, allowing users to speak with an AI agent that can listen, understand, and respond naturally using voice synthesis.

Looking to build with React/Next.js? Check out our Next.js guide.

What You’ll Need

  1. An ElevenLabs agent created following this guide
  2. npm installed on your local system
  3. Basic knowledge of JavaScript

Looking for a complete example? Check out our Vanilla JS demo on GitHub.

Project Setup

1

Create a Project Directory

Open a terminal and create a new directory for your project:

$mkdir elevenlabs-conversational-ai
>cd elevenlabs-conversational-ai
2

Initialize npm and Install Dependencies

Initialize a new npm project and install the required packages:

$npm init -y
>npm install vite @11labs/client
3

Set up Basic Project Structure

Add this to your package.json:

1{
2 "scripts": {
3 ...
4 "dev:frontend": "vite"
5 }
6}

Create the following file structure:

$elevenlabs-conversational-ai/
>├── index.html
>├── script.js
>├── package-lock.json
>├── package.json
>└── node_modules

Implementing the Voice Chat Interface

1

Create the HTML Interface

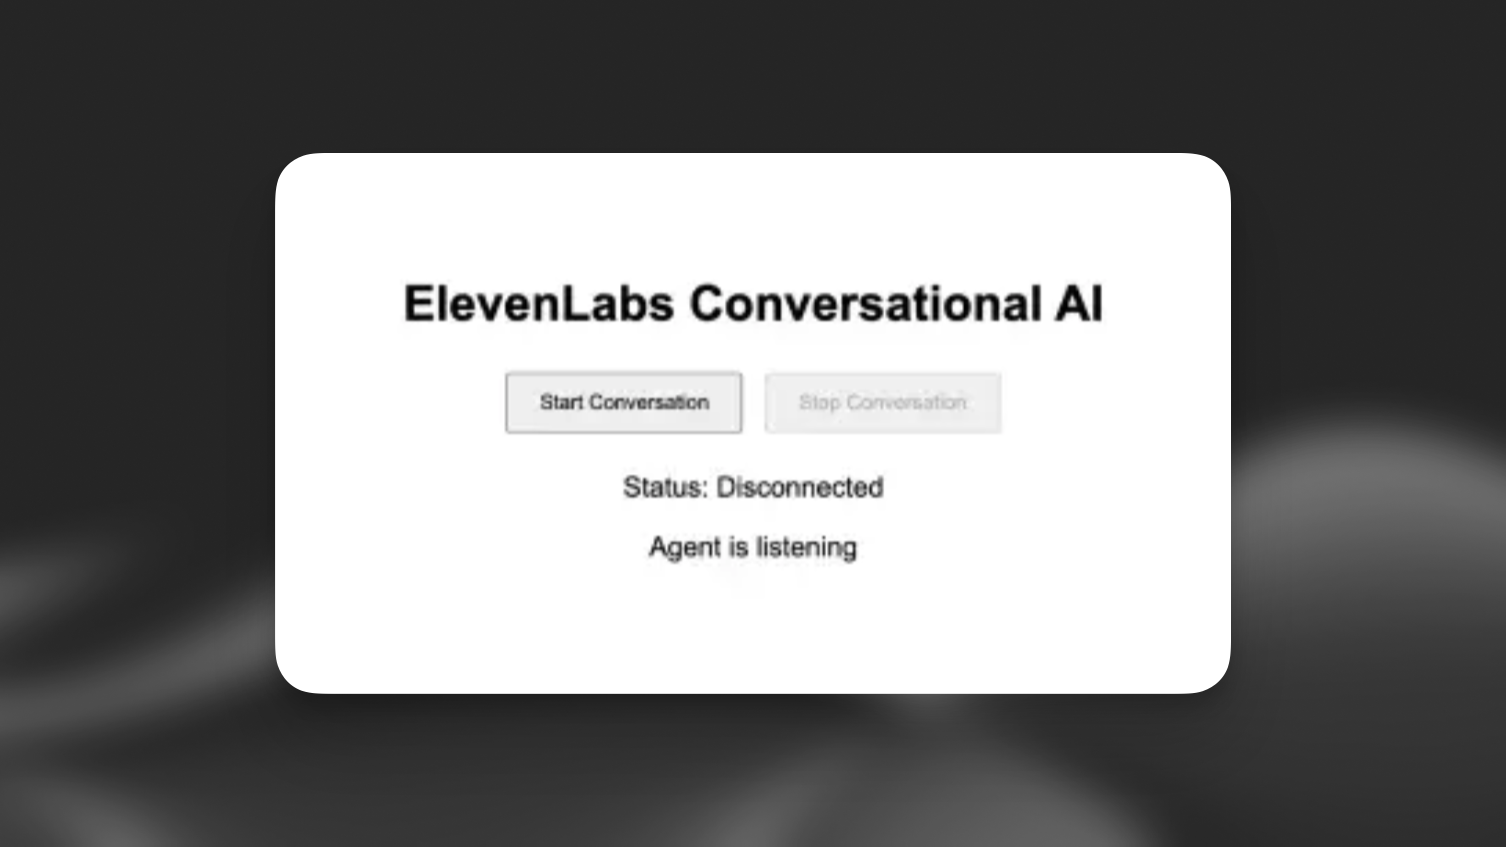
In index.html, set up a simple user interface:

Conversational AI HTML interface step

index.html
1<!DOCTYPE html>
2<html lang="en">
3 <head>
4 <meta charset="UTF-8" />
5 <meta name="viewport" content="width=device-width, initial-scale=1.0" />
6 <title>ElevenLabs Conversational AI</title>
7 </head>
8 <body style="font-family: Arial, sans-serif; text-align: center; padding: 50px;">
9 <h1>ElevenLabs Conversational AI</h1>
10 <div style="margin-bottom: 20px;">
11 <button id="startButton" style="padding: 10px 20px; margin: 5px;">Start Conversation</button>
12 <button id="stopButton" style="padding: 10px 20px; margin: 5px;" disabled>Stop Conversation</button>
13 </div>
14 <div style="font-size: 18px;">
15 <p>Status: <span id="connectionStatus">Disconnected</span></p>
16 <p>Agent is <span id="agentStatus">listening</span></p>
17 </div>
18 <script type="module" src="../images/script.js"></script>
19 </body>
20</html>
2

Implement the Conversation Logic

In script.js, implement the functionality:

script.js
1import { Conversation } from '@11labs/client';
2
3const startButton = document.getElementById('startButton');
4const stopButton = document.getElementById('stopButton');
5const connectionStatus = document.getElementById('connectionStatus');
6const agentStatus = document.getElementById('agentStatus');
7
8let conversation;
9
10async function startConversation() {
11 try {
12 // Request microphone permission
13 await navigator.mediaDevices.getUserMedia({ audio: true });
14
15 // Start the conversation
16 conversation = await Conversation.startSession({
17 agentId: 'YOUR_AGENT_ID', // Replace with your agent ID
18 onConnect: () => {
19 connectionStatus.textContent = 'Connected';
20 startButton.disabled = true;
21 stopButton.disabled = false;
22 },
23 onDisconnect: () => {
24 connectionStatus.textContent = 'Disconnected';
25 startButton.disabled = false;
26 stopButton.disabled = true;
27 },
28 onError: (error) => {
29 console.error('Error:', error);
30 },
31 onModeChange: (mode) => {
32 agentStatus.textContent = mode.mode === 'speaking' ? 'speaking' : 'listening';
33 },
34 });
35 } catch (error) {
36 console.error('Failed to start conversation:', error);
37 }
38}
39
40async function stopConversation() {
41 if (conversation) {
42 await conversation.endSession();
43 conversation = null;
44 }
45}
46
47startButton.addEventListener('click', startConversation);
48stopButton.addEventListener('click', stopConversation);
3

Start the frontend server

$npm run dev:frontend

Make sure to replace 'YOUR_AGENT_ID' with your actual agent ID from ElevenLabs.

Next Steps

Now that you have a basic implementation, you can:

  1. Add visual feedback for voice activity
  2. Implement error handling and retry logic
  3. Add a chat history display
  4. Customize the UI to match your brand

For more advanced features and customization options, check out the @11labs/client package.