Overview
This section covers everything from account creation to advanced voice cloning, speech synthesis techniques, dubbing, and expert voiceover.
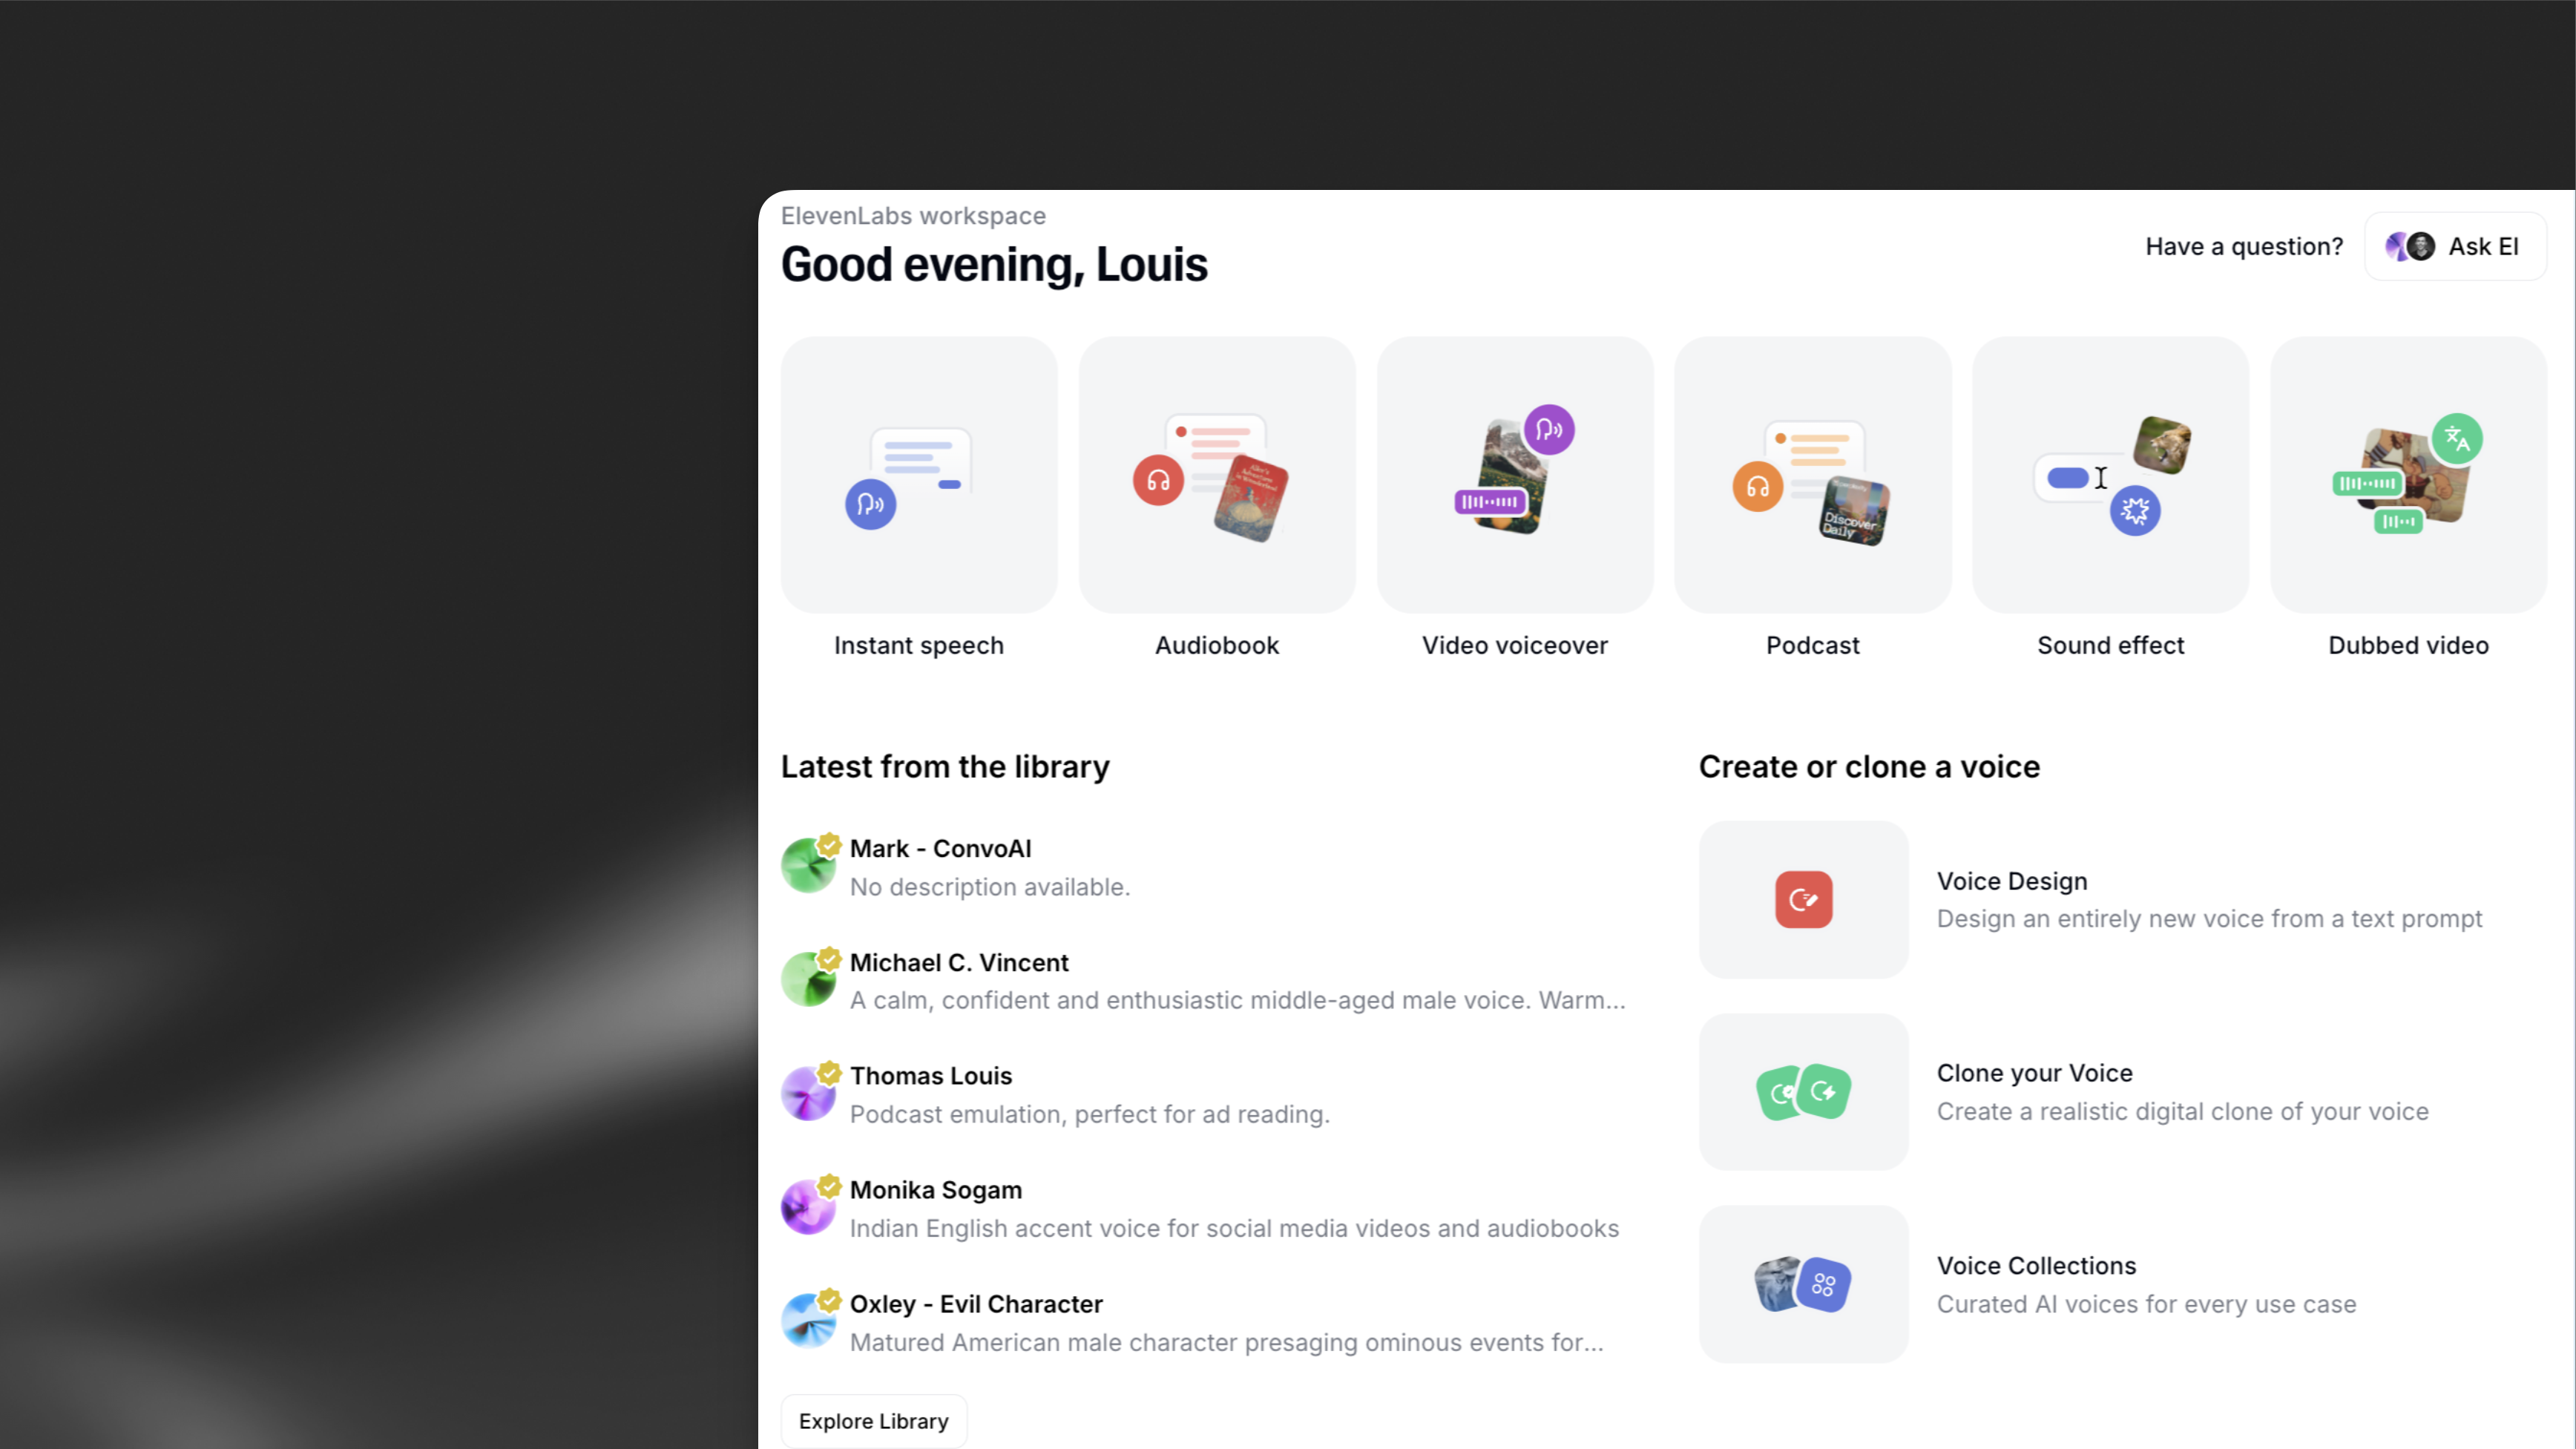
Product guides
Discover how to create speech from text with text to speech
Discover how to transform your voice with voice changer
Discover how to create cinematic sound effects from text
Manage long-form content with Studio
Discover how to dub your videos in multiple languages
Discover how to create conversational AI agents
Discover how to create instant & professional voice clones
Discover our voice library with over 5,000 community voices
Discover how to craft voices from a single prompt
Discover how to get paid when your voice is used
Easily embed ElevenLabs on any web page
Manage long-form audio generation with voiceover studio
Isolate voices from background noise
Classify AI-generated speech
Administration
Learn how to manage your account settings
Learn how to manage your billing information
Learn how to manage your enterprise workspaces
Learn how to enable single sign-on for your enterprise
Troubleshooting
- Explore our troubleshooting section for common issues and solutions.
- Get help from the Conversational AI widget in the bottom right corner.
- Ask for help in our Discord community.
- Contact our support team.