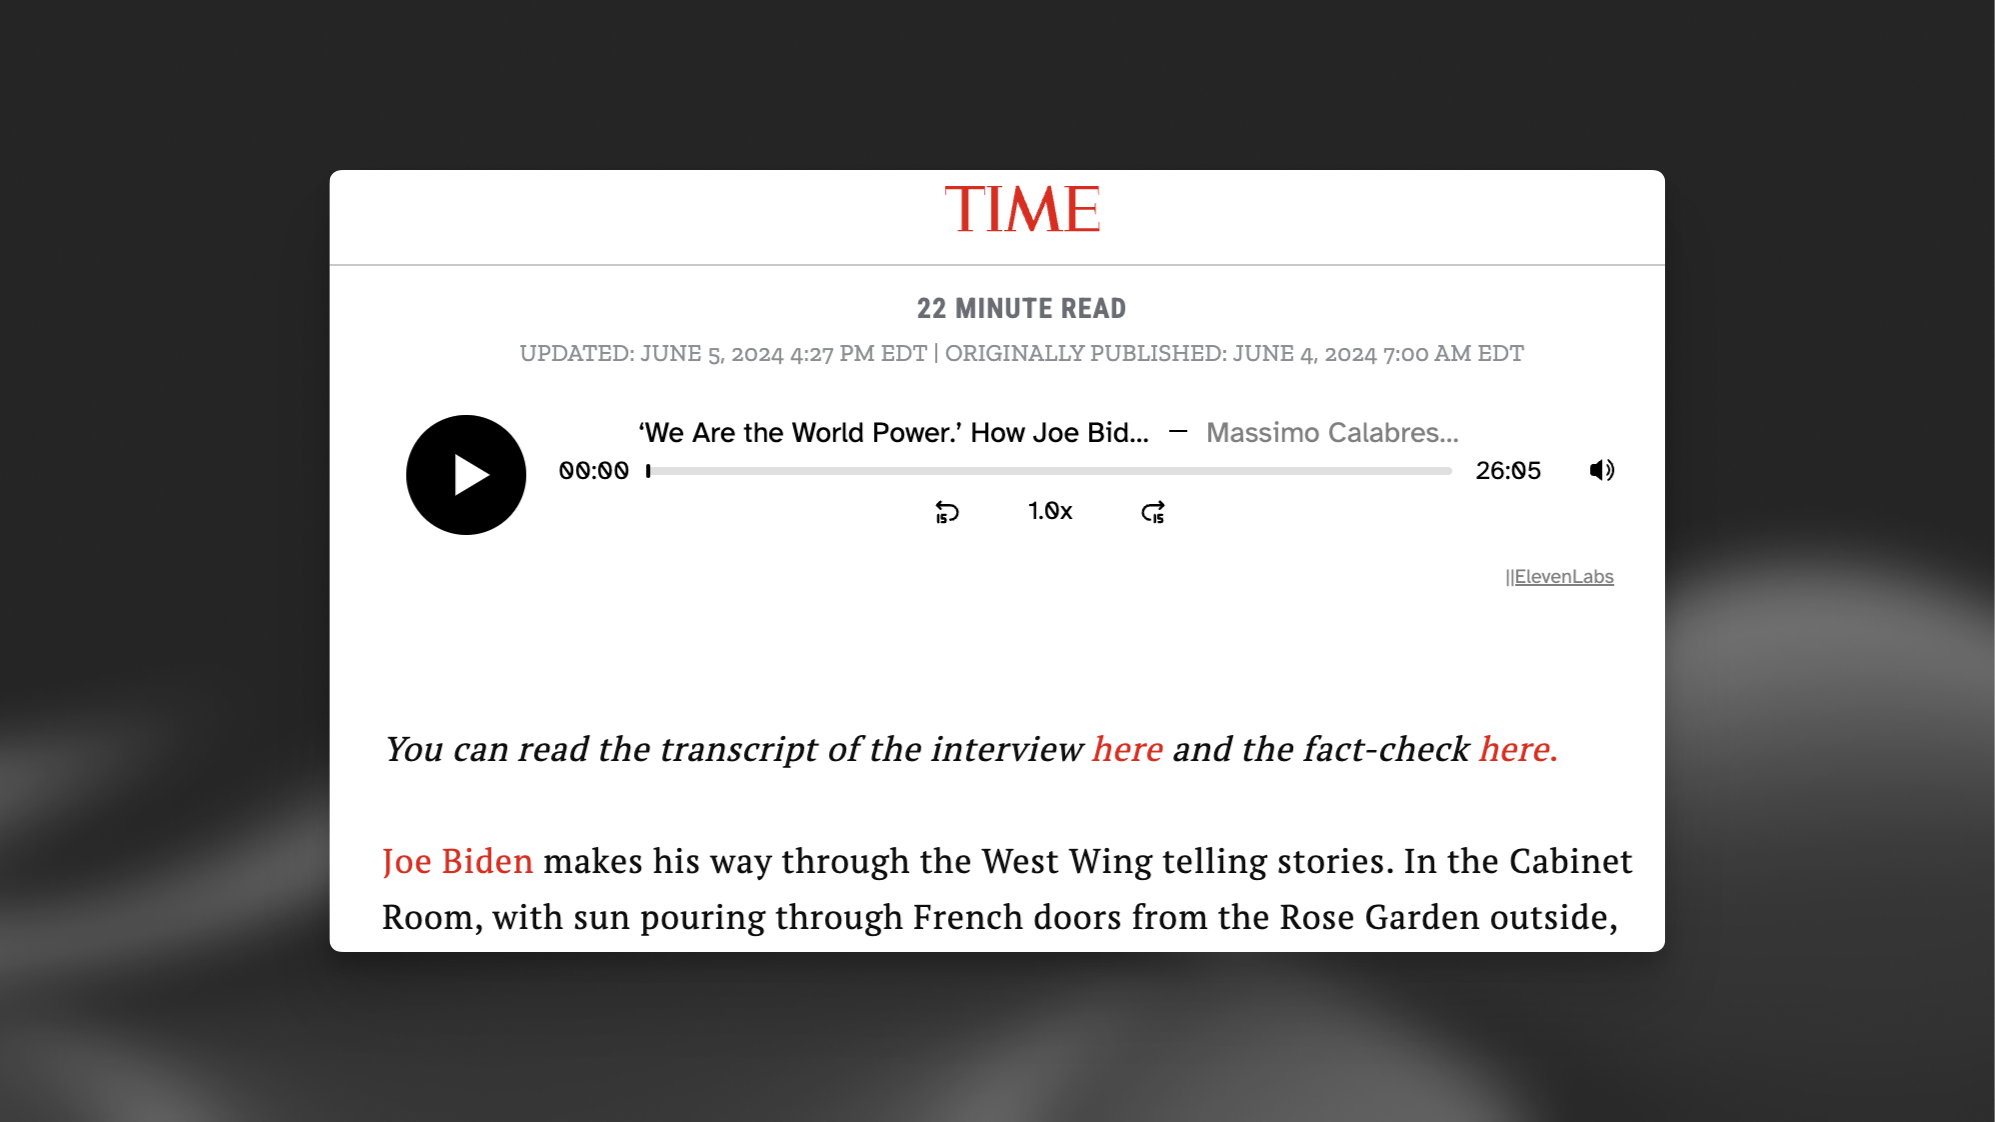
Embed ElevenLabs on any web page

Loading the Elevenlabs Text to Speech AudioNative Player…

Audio Native is an embedded audio player that automatically voices content of a web page using ElevenLab’s text-to-speech service. It can also be used to embed pre-generated content from a project into a web page. All it takes to deploy on your site is a brief snippet of html. In addition, Audio Native comes with built-in metrics so you can track audience engagement through a listener dashboard.

Set up

Before creating and deploying Audio Native players, you’ll need to go through a few steps to configure Audio Native on your account.

It’s best not to skip any of these steps in order to understand how Audio Native works and prevent potential misuse of the service. Don’t worry about getting everything right the first time you configure Audio Native, you can always change the settings later!

  1. Navigate to Audio Native
  2. Configure whitelisted sites - these are the list of website domains that will be permitted to play your content. Your Audio Native players will only work on sites that begin with the domains that you specify in this list.
    • Click on Add URL
    • If “elevenlabs.io/” is whitelisted, then the Audio Native player will work on any site on the elevenlabs website.
    • However if we want to restrict it to just the blog page, then we can specify that in the whitelist by listing “elevenlabs.io/blog” instead. In this case, the Audio Native player will only work on any of the blog pages, and not other elevenlabs.io sites.
    • If you try to embed audio native on pages that don’t follow that path, you will see the player briefly appear and then disappear, or you may see this message:
      You can resolve this by checking that the URL for the page is added to your URL list correctly.
  3. Configure your Audio Native player’s appearance and default settings.
    • Click “Player” or directly navigate to https://elevenlabs.io/app/audionative/settings/player
    • Select a default voice. This is the voice that will be used if you are using Audio Native to automatically convert content from the page it’s embedded in. If you use Audio Native to play content already generated in a Project, it will keep the voice used in the Project.
    • You’ll get an alert of your selected voice model is not optimized for the voice you’ve chosen.
    • Customize your player’s background and text color. This is how it will be displayed on your website.
    • Set a fallback Title and Author to display on your player.
    • Optionally add a pronunciation dictionary to specify the pronunciation of words unique to your brand.
    • By default, our embedded player will create a voice over of all of the text content on your page. You can customize the content we target with CSS selectors.
  4. Now that you’ve finished customizing your player, head back to the General tab and grab your embed code.
    • You’ll use this code snippet to embed Audio Native into the html of any (whitelisted) site you’d like to have voiced by ElevenLabs.

Deploying Audio Native

To see an example implementation check out our dubbing studio blog post.

The embedded player automatically collects listening metrics, retention and more. Plus, it can be readily extended to any article through simple copy-pasting.

There are three ways to deploy your Audio Native Player

Method 1: Embed and automatically voice the site

Take the code that you generated during Audio Native set up and embed it into your website. The next time the site is opened, Audio Native will:

  1. Create a new Project (make sure you have Project slots available otherwise it will throw an error)
  2. Grab the webpage’s contents and put it into the newly created Project
  3. Convert the Project into audio and deliver it to the Audio Native player

Once this process is complete, you can edit the Audio by editing the resulting Project. To update the audio after saving your edits to the project, select versions and publish the new version.

Here are specific implementation guides for some of the top CMS platforms:


Method 2: Embed audio from an existing project

If you already have a converted Project and would like to embed that audio using Audio Native, simply open the Project settings and go to the Publish tab. Click Audio Native, then use the toggle to enable Audio Native. Then use the generated embed code to add the Audio Native player to any whitelisted site.


Method 3: Embed audio from content using our API

You can use our API to programmatically create an Audio Native player for your existing content.

Using this API method you can submit your content as either a .html or .txt file and we will return an embeddable html code for an Audio Native player which can be inserted into your website or blog. Our Audio Native HTML embed code follows a standardised format, with a unique identifier for the uploaded content.

In the background when this api is called it will automatically convert your content into an ElevenLabs Project, optionally convert the project into audio straight away, and then enable sharing on this project audio using the returned Audio Native player.

Future edits to the content can be done by calling this method again with the new content, or from within the Projects UI.

Updating Audio Native player for existing projects

When you make changes to the default player, this does not apply to existing Audio Native projects. As the settings for the player are saved for each project, these need to be updated individually for existing projects.

Here is how to do this:

  1. Open the project from the list on Audio Native by clicking “Edit audio”.

  2. Click “Convert”, then select “Share”. Click “Audio Player Settings” to open the settings for the player. Make your adjustments and click “Save”. These changes should reflect in the player. You may need to refresh the page.

Built with