Before adding Audio Native to Ghost, you’ll need to create & customize your player, whitelist your blog’s domain, and copy your embed code. If you need help completing those steps, refer to our Audio Native overview.

Now that you’ve created & customized your Audio Native player, navigate to your Ghost blog, sign in, and open the blog post you wish to narrate in the editor.

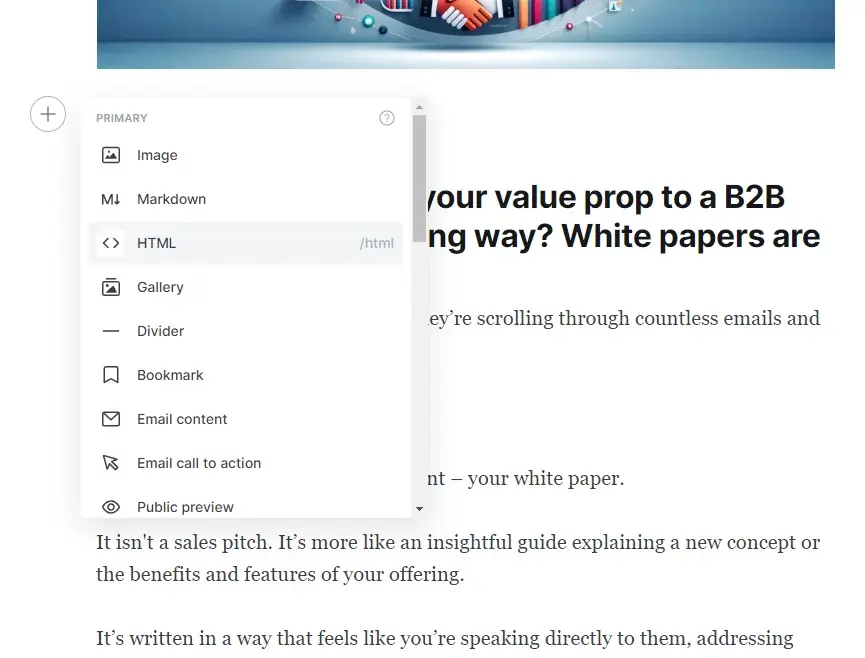
Next, add a line near the top of your blog post (above or below the main image is usually best). Click the “+” symbol on the left side and select “HTML” from the menu.

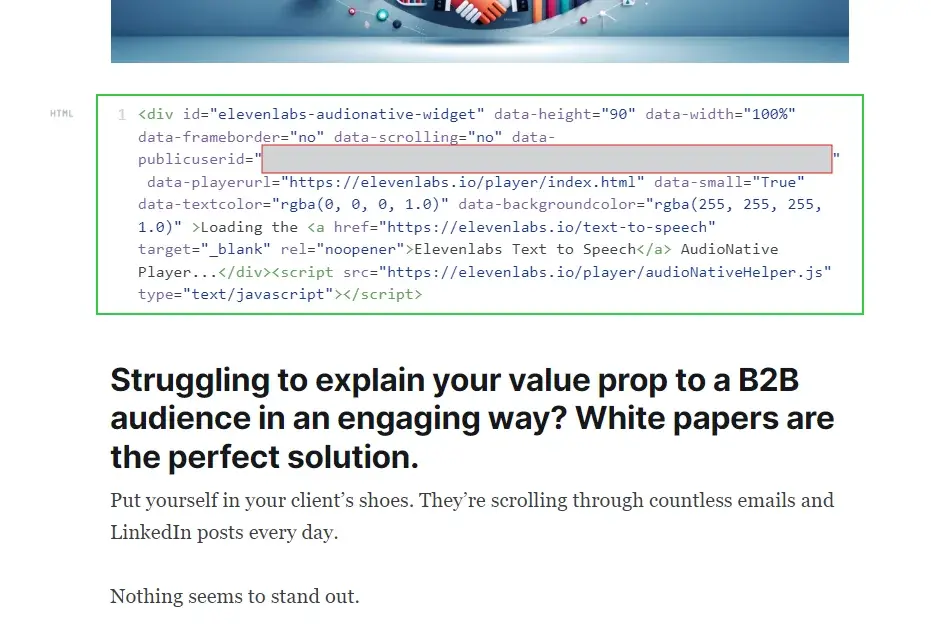
Paste your Audio Native Embed code into the HTML box, as shown below, and press enter or click away.

Click the “Update” button in the top right corner of the editor, which should now be highlighted in green text.

Now, navigate to the live version of the blog post you just updated. You should see a message to let you know that the Audio Native project is being created. This means the text in your blog post is being converted to an audio article.

After a few minutes, the embedded audio player will appear and you can click play to hear the AI-generated audio blog.

Follow these steps for any Ghost blog posts that you wish to turn into audio articles.