Audio Native
Overview
Audio Native is an embedded audio player that automatically voices content of a web page using ElevenLab’s Text to Speech service. It can also be used to embed pre-generated content from a project into a web page. All it takes to embed on your site is a small HTML snippet. In addition, Audio Native provides built-in metrics allowing you to precisely track audience engagement via a listener dashboard.
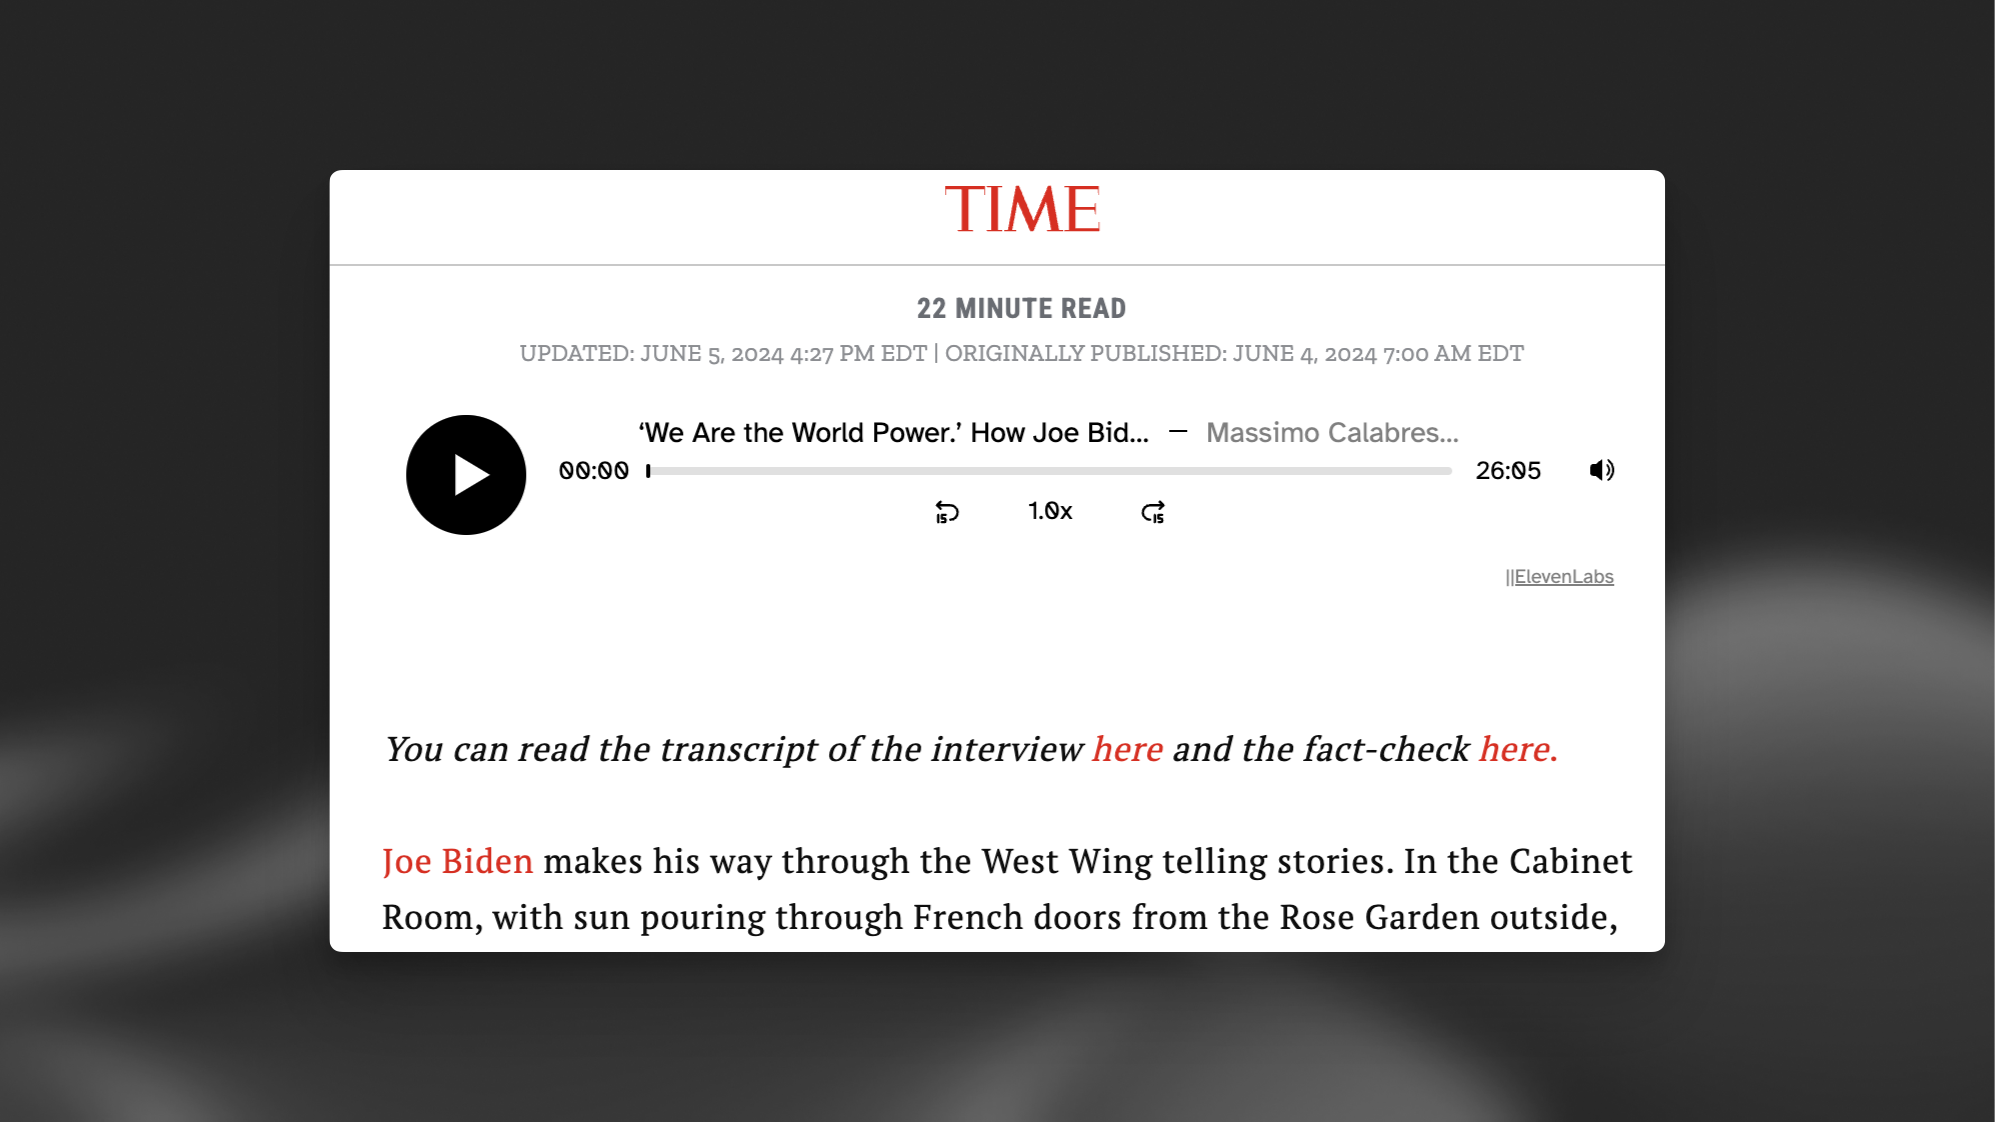
The end result will be a Audio Native player that can narrate the content of a page, or, like in the case below, embed pre-generated content from a project:
Guide
Configure allowed sites
The URL allowlist is the list of web pages that will be permitted to play your content.
You can choose to add a specific web page (e.g. https://elevenlabs.io/blog) or add a whole domain to the allowlist (e.g. http://elevenlabs.io). If a player is embedded on a page that is not in the allowlist, it will not work as intended.
Technology-specific guides
To integrate Audio Native into your web techology of choice, see the following guides:
Using the API
You can use the Audio Native API to programmatically create an Audio Native player for your existing content.
Settings
Voice and model
Voices
To configure the voice and model that will be used to read the content of the page, navigate to the “Settings” tab and select the voice and model you want to use.
Pronunciation dictionaries
Pronunciation dictionaries
Sometimes you may want to specify the pronunciation of certain words, such as character or brand names, or specify how acronyms should be read. Pronunciation dictionaries allow this functionality by enabling you to upload a lexicon or dictionary file that includes rules about how specified words should be pronounced, either using a phonetic alphabet (phoneme tags) or word substitutions (alias tags).
Whenever one of these words is encountered in a project, the AI will pronounce the word using the specified replacement. When checking for a replacement word in a pronunciation dictionary, the dictionary is checked from start to end and only the first replacement is used.