Overview

Once your dub finishes generating, and if you select the option to create a dubbing studio, you will see an edit button next to the dub. Click that to open the studio.

At first, when you open the studio, it might seem overwhelming, as there’s a lot of information to take in. However, if you have used an audio or video editor, you will most likely feel right at home with the layout of the studio.

  • In the middle, you will see the speaker cards, which show the transcribed audio as well as the translated transcription. If you only see one set of cards, don’t fret, to see both you have to select the language you want to work on. This defaults to the original.
  • On the right-hand side, you will see the video clip that you uploaded to be dubbed. You can move this clip around and place it wherever you want. You can also resize it by dragging the corners of the clip.
  • Below all of this, you will have the timeline, which shows the different voices the AI extracted on individual tracks as well as clips indicating when a specific voice is speaking, as well as the corresponding clips for the original audio.
  • The timeline is also divided into a few different parts. On the left side, you can see the names of each speaker track. You can rename them here to keep your project organized. You can click the cogwheel and change settings across the whole track. However, keep in mind that if you do this, you will have to regenerate the already generated audio clips.
  • In the middle part, you have the actual timeline, which includes all of the speech clips mentioned earlier.
  • On the right-hand side, you have the settings for individual clips. So if you have a clip selected, this is where you change the settings for that specific clip. You can change the volume, voice settings, or even the voice itself for the selected clip.
  • Below this, you have the current dubs available for this project. You will see the original, which is just the original audio, and then all subsequent dubs that you have created for this project in all of the different languages. Click the plus button will add another dub to the project.

Speaker Cards

Right in the middle of the studio view, you will see the speaker cards. These cards represent the text that is being spoken by a specific voice. You can both change the transcribed text – the text that the AI has automatically transcribed from the audio – and the translated text – the text the AI has automatically translated for you from the transcription.

When you first open the studio, you will most likely only see the transcribed text from the original audio and not the translated text. However, at the bottom, below the timeline, you will see a toggle where you can switch between all the languages the project is dubbed in. When you create it initially, you will only have the original language plus the language that you selected when creating the dub. If you click the other language, you should see that the speaker cards get split into two versions of the same text: one is the original text, and the second is the dubbed text. 

This toggle also determines which language you hear the dub in. If you have it selected on the original, you will only hear the original language, but if you select one of the other languages that the video is dubbed into, you will hear those languages. I would recommend toggling the language that you have dubbed your project in to follow along with the guide a little bit easier.

Timeline

Below the speaker cards, you will find the timeline. This is where you will refine and change the actual audio generated from the text that you did in the speaker cards. It is segmented into different parts. On the left side, you have the tracks for each voice in the audio. In the middle, you have the clips that represent when a voice is speaking. On the right-hand side, you have the settings for the currently selected clip. We will go through all of these parts.

Tracks

When you create your dub, you either specify the number of speakers manually (this is the recommended method) or let the AI automatically decide the number of speakers. Each speaker will be assigned a track, and each speaker will have clips on that track which represent when they’re speaking and when they are not. These clips then represent the speaker cards – more on that later in the clips section.

On the left-hand side of each track, you have a few options. You can click the name, which usually just says “speaker” when you first create the dub, and then change it to the character name to keep it more organized.

On each track with a dubbed voice (not the tracks with the original voices), you will see a little cogwheel. If you click this, it will bring up some very important settings for each track. Here, you can change things such as stability, similarity, style for the whole track, as well as change how the clone is decided. For example, you can select to have a clone created for each clip on the track individually, decide to have a unified clone created from all clips, or select a voice that you already cloned and is in your voice library. There’s a third way to create a clone, which I will go through in the clips section.

Lastly, on each track, you have three dots that you can click to access the ability to remove the track from the project if you feel like it was created incorrectly by the AI. Perhaps it picked up some background noise and thought it was a speaker, but it was not, which means you can discard this track.

Clips

Subsequently, each of these tracks will contain clips that represent the dialogue, audio, and speaker cards. These will be automatically created when you first create your dub.

If you click on a clip, the speaker cards will also jump to the appropriate location so you can easily find and edit transcription, translations, and performances. You will see two clips on top of each other of the same color; the top clip represents the original audio, and the bottom represents the dubbed audio. You can move these clips independently to adjust the audio within them. When you click a clip, it will be highlighted both in the timeline and in the speaker cards. This makes it very easy to edit specific clips without having to sync both views, as they do that automatically.

On each clip that represents a dubbed section, you will find two circling arrows which you can click to regenerate that specific clip. This will need to be done each time you have, for example, changed the settings, the voice, or the translation. You will need to regenerate the clip where this change occurred. If a clip needs to be regenerated, it will say “stale” next to these arrows.

If you have two clips that are very close together, you can click the gray icon between the two clips to combine them into a single, longer clip. Additionally, where the playhead is, you can click this gray icon to separate a clip into two individual clips.

If you drag either edge of a clip, you will extend or truncate it. You might notice that when you extend or truncate, the voice will either speed up or slow down, and the pitch will either go up or down as well. This is just an approximation, but you will have to regenerate the clip for the AI to be able to generate speech that will fit within the clip length and sound natural.

On the right-hand side, you will also see a few options. In contrast to the left-hand side options, which affect the whole track, these are the individual clip options. Here, you can set and change settings that will only affect the currently selected clip instead of the whole track. For example, you can set different values for stability, similarity, style, as well as adjust the volume. You can even specify a particular clone to be used for that particular clip only.

Lastly, you can right-click a clip to access a few more options. You can transcribe the audio again if you feel like the transcription was incorrect or if you’ve made changes to the clip. You can also delete the clip if you feel it shouldn’t be there. The most interesting option here is probably that you can create a clone from a specific clip. One helpful tip is to find a clip that you like, where you feel the voice is good, right-click to create a clone from that clip, and then assign that clone to the whole track to achieve a consistent voice throughout. This is just one tip and may not work for all circumstances, but it can work very well in some cases.

Adding Voiceover and SFX Tracks

  • Voiceover Tracks: Voiceover tracks create new Speakers. You can click and add clips on the timeline wherever you like. After creating a clip, start writing your desired text on the speaker cards above. You’ll first need to translate that text, then you can press “Generate”.

  • SFX Tracks: Add a SFX track, then click anywhere on that track to create a SFX clip. Similar to our independent SFX feature, simply start writing your prompt in the Speaker card above and click “Generate” to create your new SFX audio. You can lengthen or shorten SFX clips and move them freely around your timeline to fit your project - make sure to press the “stale” button if you do so.

“Dynamic” vs. “Fixed” Generation

In Dubbing Studio, all regenerations made to the text are “Fixed” generations by default. This means that no matter how much text is in a Speaker card, that respective clip will not change its length. This is helpful to keep the timing of the video with the speech. However, this can be problematic if there are too many or too few words within speaker card, as this can result in sped up or slowed down speech.

This is where “Dynamic” generation can help. You can access this by right clicking on a clip and selecting “Generate Audio (Dynamic Duration). You’ll notice now that the length of the clip will more appropriately match the text spoken for that section. For example, the phrase “I’m doing well!” should only occupy a small clip - if the clip was very long, the speech would be slurred and drawn out. This is where Dynamic generation can be helpful.

Just note, though, that this could affect the syncing and timing of your video. Additionally, if you choose “Dynamic Duration” for a clip that has many words, the clip will need to lengthen - if there is a clip directly in front of it, it will not have enough room to generate properly, so make sure you leave some space between your clips!

Manual Import

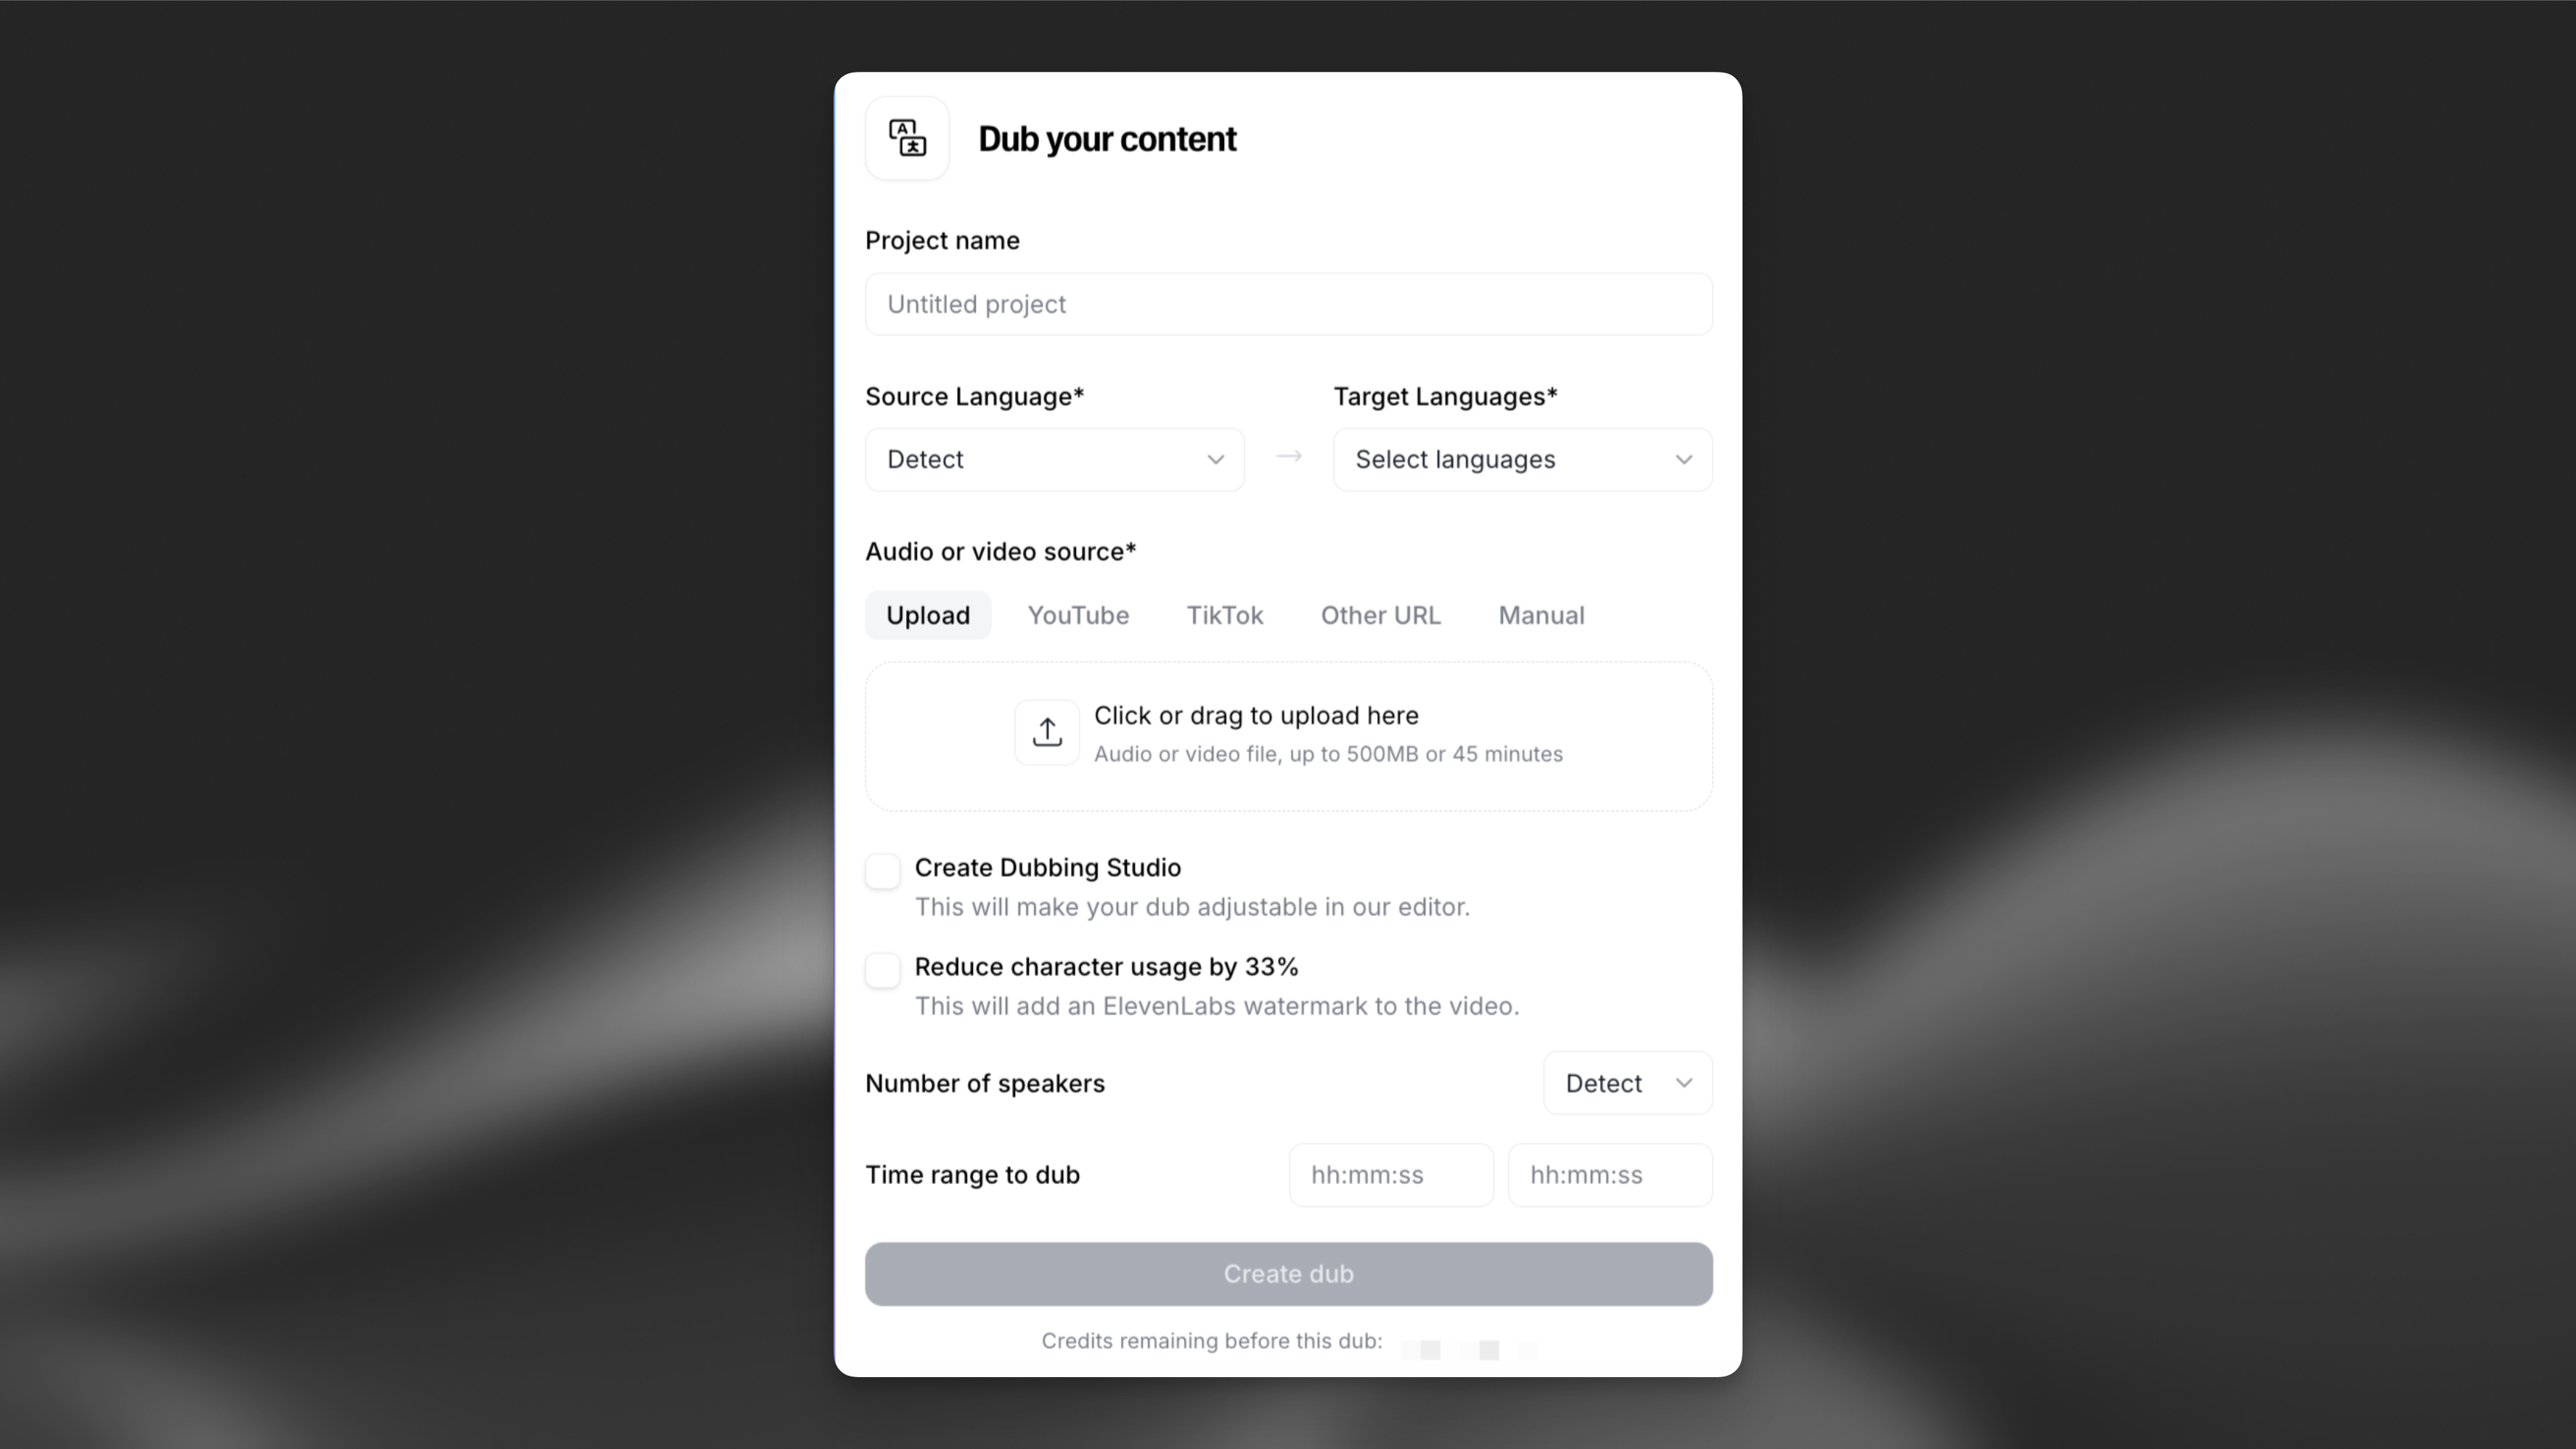
When creating your dub, you have a special option during the creation process that is only available to the dubbing studio; manual dubbing. This option allows you to create a manual dub where you upload all of the files individually. You can upload the video file, the background audio, and the audio of only the speakers. Additionally, you should include a CSV file indicating the names of the speakers, the start and end time of when they are speaking, the original text, and the translated text. It’s similar to a subtitle file but with a lot more information. This file needs to adhere to a very strict format to work correctly.

Timecodes supported in CSV file include:

seconds (example file)

hours:minutes:seconds:frame (example file)

hours:minutes:seconds,milliseconds (example file)

speakerstart_timeend_timetranscriptiontranslation
Joe0:00:00.0000:00:02.000Hey!Hallo!
Maria0:00:02.0000:00:06.000Oh, hi, Joe. It has been a while.Oh, hallo, Joe. Es ist schon eine Weile her.
Joe0:00:06.0000:00:11.000Yeah, I know. Been busy.Ja, ich weiß. War beschäftigt.
Maria0:00:11.0000:00:17.000Yeah? What have you been up to?Ja? Was hast du gemacht?
Joe0:00:17.0000:00:23.000Traveling mostly.Hauptsächlich gereist.
Maria0:00:23.0000:00:30.000Oh, anywhere I would know?Oh, irgendwo, das ich kenne?
Joe0:00:30.0000:00:36.000Spain.Spanien.