> This is a page from the ElevenLabs documentation. For a complete page index, fetch https://elevenlabs.io/docs/llms.txt. For the full documentation in a single file, fetch https://elevenlabs.io/docs/llms-full.txt.
# Vite(JavaScript)
このチュートリアルでは、ElevenLabsエージェントとやり取りできるWebクライアントを作成します。リアルタイムの音声会話を実装し、ユーザーが音声合成を使って聞き取り、理解し、自然に応答できるAIエージェントと会話する方法を学びます。
> **Note**
>
> React/Next.jsで構築したい場合は、[Next.js ガイド](/docs/ja/eleven-agents/guides/quickstarts/next-js)をご覧ください。
## 必要なもの
1. [このガイド](/docs/ja/eleven-agents/quickstart)に従って作成したElevenLabsエージェント
2. ローカルシステムにインストールされた`npm`
3. JavaScriptの基本知識
## プロジェクトのセットアップ
#### プロジェクトディレクトリを作成
ターミナルを開き、プロジェクト用の新しいディレクトリを作成します:
```bash
mkdir elevenlabs-conversational-ai
cd elevenlabs-conversational-ai
```
#### npmを初期化して依存関係をインストール
新しいnpmプロジェクトを初期化し、必要なパッケージをインストールします:
```bash
npm init -y
npm install vite @elevenlabs/client
```
#### 基本的なプロジェクト構成を設定
`package.json`に以下を追加します:
**`package.json`**
```json package.json {4}
{
"scripts": {
...
"dev:frontend": "vite"
}
}
```
次のファイル構成を作成します:
```shell {2,3}
elevenlabs-conversational-ai/
├── index.html
├── script.js
├── package-lock.json
├── package.json
└── node_modules
```
## 音声チャットインターフェースの実装
#### HTMLインターフェースを作成
`index.html`で、シンプルなユーザーインターフェースを設定します:
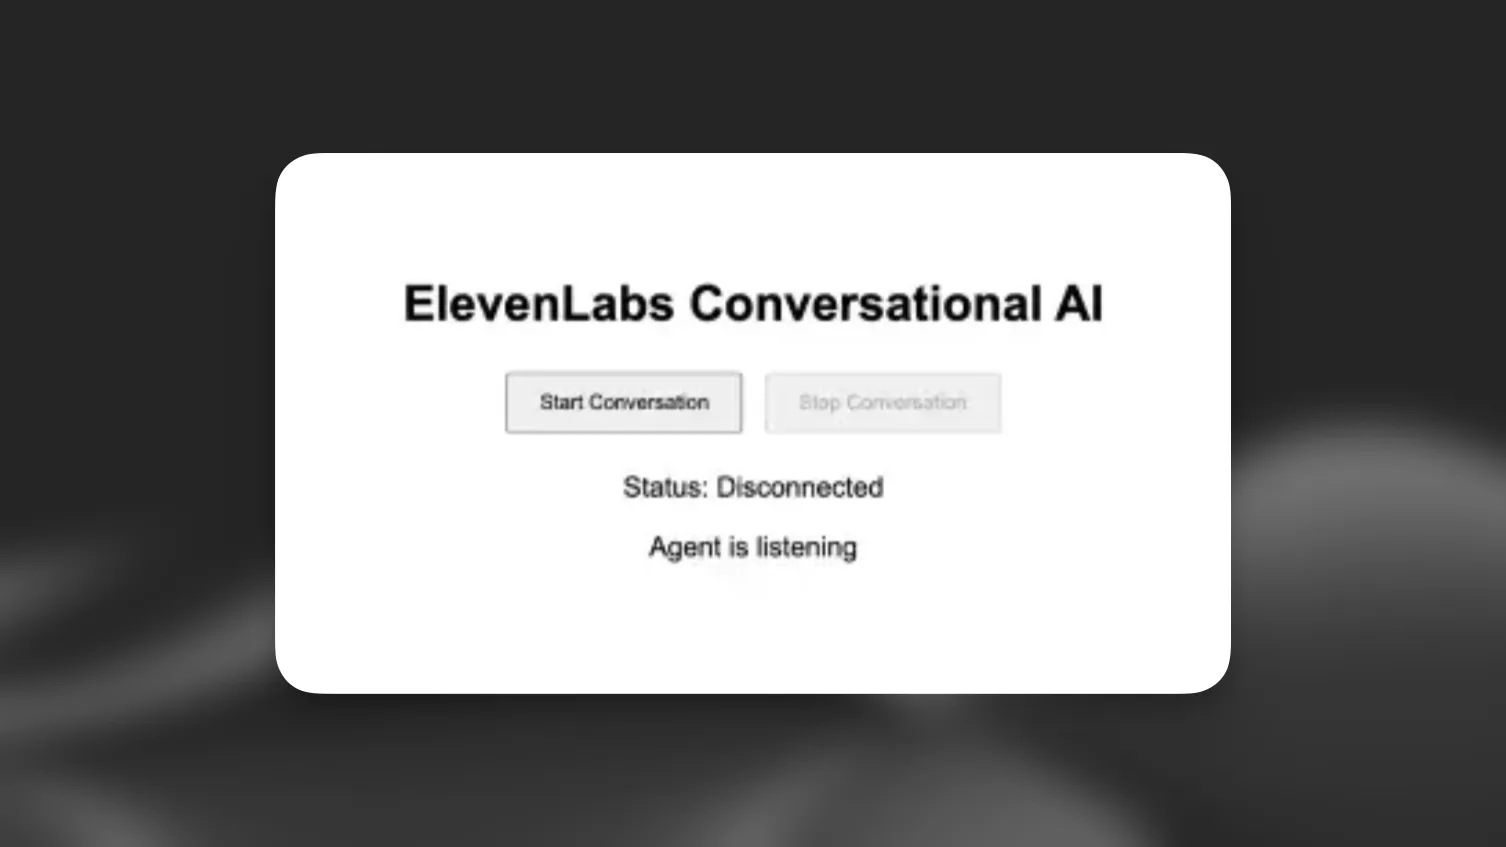
**`index.html`**
```html index.html
ElevenLabs Agents
ElevenLabs Agents
Status: Disconnected
Agent is listening
```
#### 会話ロジックを実装
`script.js`に機能を実装します:
**`script.js`**
```javascript script.js
import { Conversation } from '@elevenlabs/client';
const startButton = document.getElementById('startButton');
const stopButton = document.getElementById('stopButton');
const connectionStatus = document.getElementById('connectionStatus');
const agentStatus = document.getElementById('agentStatus');
let conversation;
async function startConversation() {
try {
// Request microphone permission
await navigator.mediaDevices.getUserMedia({ audio: true });
// Start the conversation
conversation = await Conversation.startSession({
agentId: 'YOUR_AGENT_ID', // Replace with your agent ID
onConnect: () => {
connectionStatus.textContent = 'Connected';
startButton.disabled = true;
stopButton.disabled = false;
},
onDisconnect: () => {
connectionStatus.textContent = 'Disconnected';
startButton.disabled = false;
stopButton.disabled = true;
},
onError: (error) => {
console.error('Error:', error);
},
onModeChange: (mode) => {
agentStatus.textContent = mode.mode === 'speaking' ? 'speaking' : 'listening';
},
});
} catch (error) {
console.error('Failed to start conversation:', error);
}
}
async function stopConversation() {
if (conversation) {
await conversation.endSession();
conversation = null;
}
}
startButton.addEventListener('click', startConversation);
stopButton.addEventListener('click', stopConversation);
```
#### フロントエンドサーバーを起動
```shell
npm run dev:frontend
```
> **Note**
>
> `'YOUR_AGENT_ID'`をElevenLabsの実際のエージェントIDに置き換えてください。
#### (任意)署名付きURLで認証
> **Note**
>
> この認証手順は、プライベートエージェントにのみ必要です。パブリックエージェントを使用している場合は、このセクションをスキップして、`startSession`呼び出しで直接`agentId`を使用できます。
#### 環境変数を作成
プロジェクトルートに`.env`ファイルを作成します:
**`.env`**
```env .env
ELEVENLABS_API_KEY=your-api-key-here
AGENT_ID=your-agent-id-here
```
> **Warning**
>
> 機密性の高い認証情報を誤ってコミットしないよう、`.env`を`.gitignore`ファイルに必ず追加してください。
#### バックエンドをセットアップ
1. 追加の依存関係をインストールします:
```bash
npm install express cors dotenv
```
2. `backend`という新しいフォルダを作成します:
```shell {2}
elevenlabs-conversational-ai/
├── backend
...
```
#### サーバーを作成
**`backend/server.js`**
```javascript backend/server.js
require("dotenv").config();
const express = require("express");
const cors = require("cors");
const app = express();
app.use(cors());
app.use(express.json());
const PORT = process.env.PORT || 3001;
app.get("/api/get-signed-url", async (req, res) => {
try {
const response = await fetch(
`https://api.elevenlabs.io/v1/convai/conversation/get-signed-url?agent_id=${process.env.AGENT_ID}`,
{
headers: {
"xi-api-key": process.env.ELEVENLABS_API_KEY,
},
}
);
if (!response.ok) {
throw new Error("Failed to get signed URL");
}
const data = await response.json();
res.json({ signedUrl: data.signed_url });
} catch (error) {
console.error("Error:", error);
res.status(500).json({ error: "Failed to generate signed URL" });
}
});
app.listen(PORT, () => {
console.log(`Server running on http://localhost:${PORT}`);
});
```
#### クライアントコードを更新
署名付きURLを取得して使用するよう、`script.js`を変更します:
**`script.js`**
```javascript script.js {2-10,16,19,20}
// ... existing imports and variables ...
async function getSignedUrl() {
const response = await fetch('http://localhost:3001/api/get-signed-url');
if (!response.ok) {
throw new Error(`Failed to get signed url: ${response.statusText}`);
}
const { signedUrl } = await response.json();
return signedUrl;
}
async function startConversation() {
try {
await navigator.mediaDevices.getUserMedia({ audio: true });
const signedUrl = await getSignedUrl();
conversation = await Conversation.startSession({
signedUrl,
// agentId has been removed...
onConnect: () => {
connectionStatus.textContent = 'Connected';
startButton.disabled = true;
stopButton.disabled = false;
},
onDisconnect: () => {
connectionStatus.textContent = 'Disconnected';
startButton.disabled = false;
stopButton.disabled = true;
},
onError: (error) => {
console.error('Error:', error);
},
onModeChange: (mode) => {
agentStatus.textContent = mode.mode === 'speaking' ? 'speaking' : 'listening';
},
});
} catch (error) {
console.error('Failed to start conversation:', error);
}
}
// ... rest of the code ...
```
> **Warning**
>
> 署名付きURLは短時間で有効期限が切れます。ただし、有効期限前に開始された会話は中断されずに続行されます。本番環境では、新しい会話を開始するための適切なエラー処理とURL更新ロジックを実装してください。
#### package.jsonを更新
**`package.json`**
```json package.json {4,5}
{
"scripts": {
...
"dev:backend": "node backend/server.js",
"dev": "npm run dev:frontend & npm run dev:backend"
}
}
```
#### アプリケーションを実行
次のコマンドでアプリケーションを起動します:
```bash
npm run dev
```
## 次のステップ
基本的な実装ができたので、次のことができます:
1. 音声アクティビティの視覚的フィードバックを追加する
2. エラー処理と再試行ロジックを実装する
3. チャット履歴の表示を追加する
4. ブランドに合わせてUIをカスタマイズする
> **Info**
>
> より高度な機能やカスタマイズオプションについては、
> [@elevenlabs/client](https://www.npmjs.com/package/@elevenlabs/client)パッケージをご覧ください。