> This is a page from the ElevenLabs documentation. For a complete page index, fetch https://elevenlabs.io/docs/llms.txt. For the full documentation in a single file, fetch https://elevenlabs.io/docs/llms-full.txt.
# ElevenAgents in Framer
This tutorial will guide you through adding your ElevenLabs agent to your Framer website.
## Prerequisites
* An ElevenLabs Agents agent created following [this guide](/docs/eleven-agents/quickstart)
* A Framer account & website, create one [here](https://framer.com)
 ## Guide
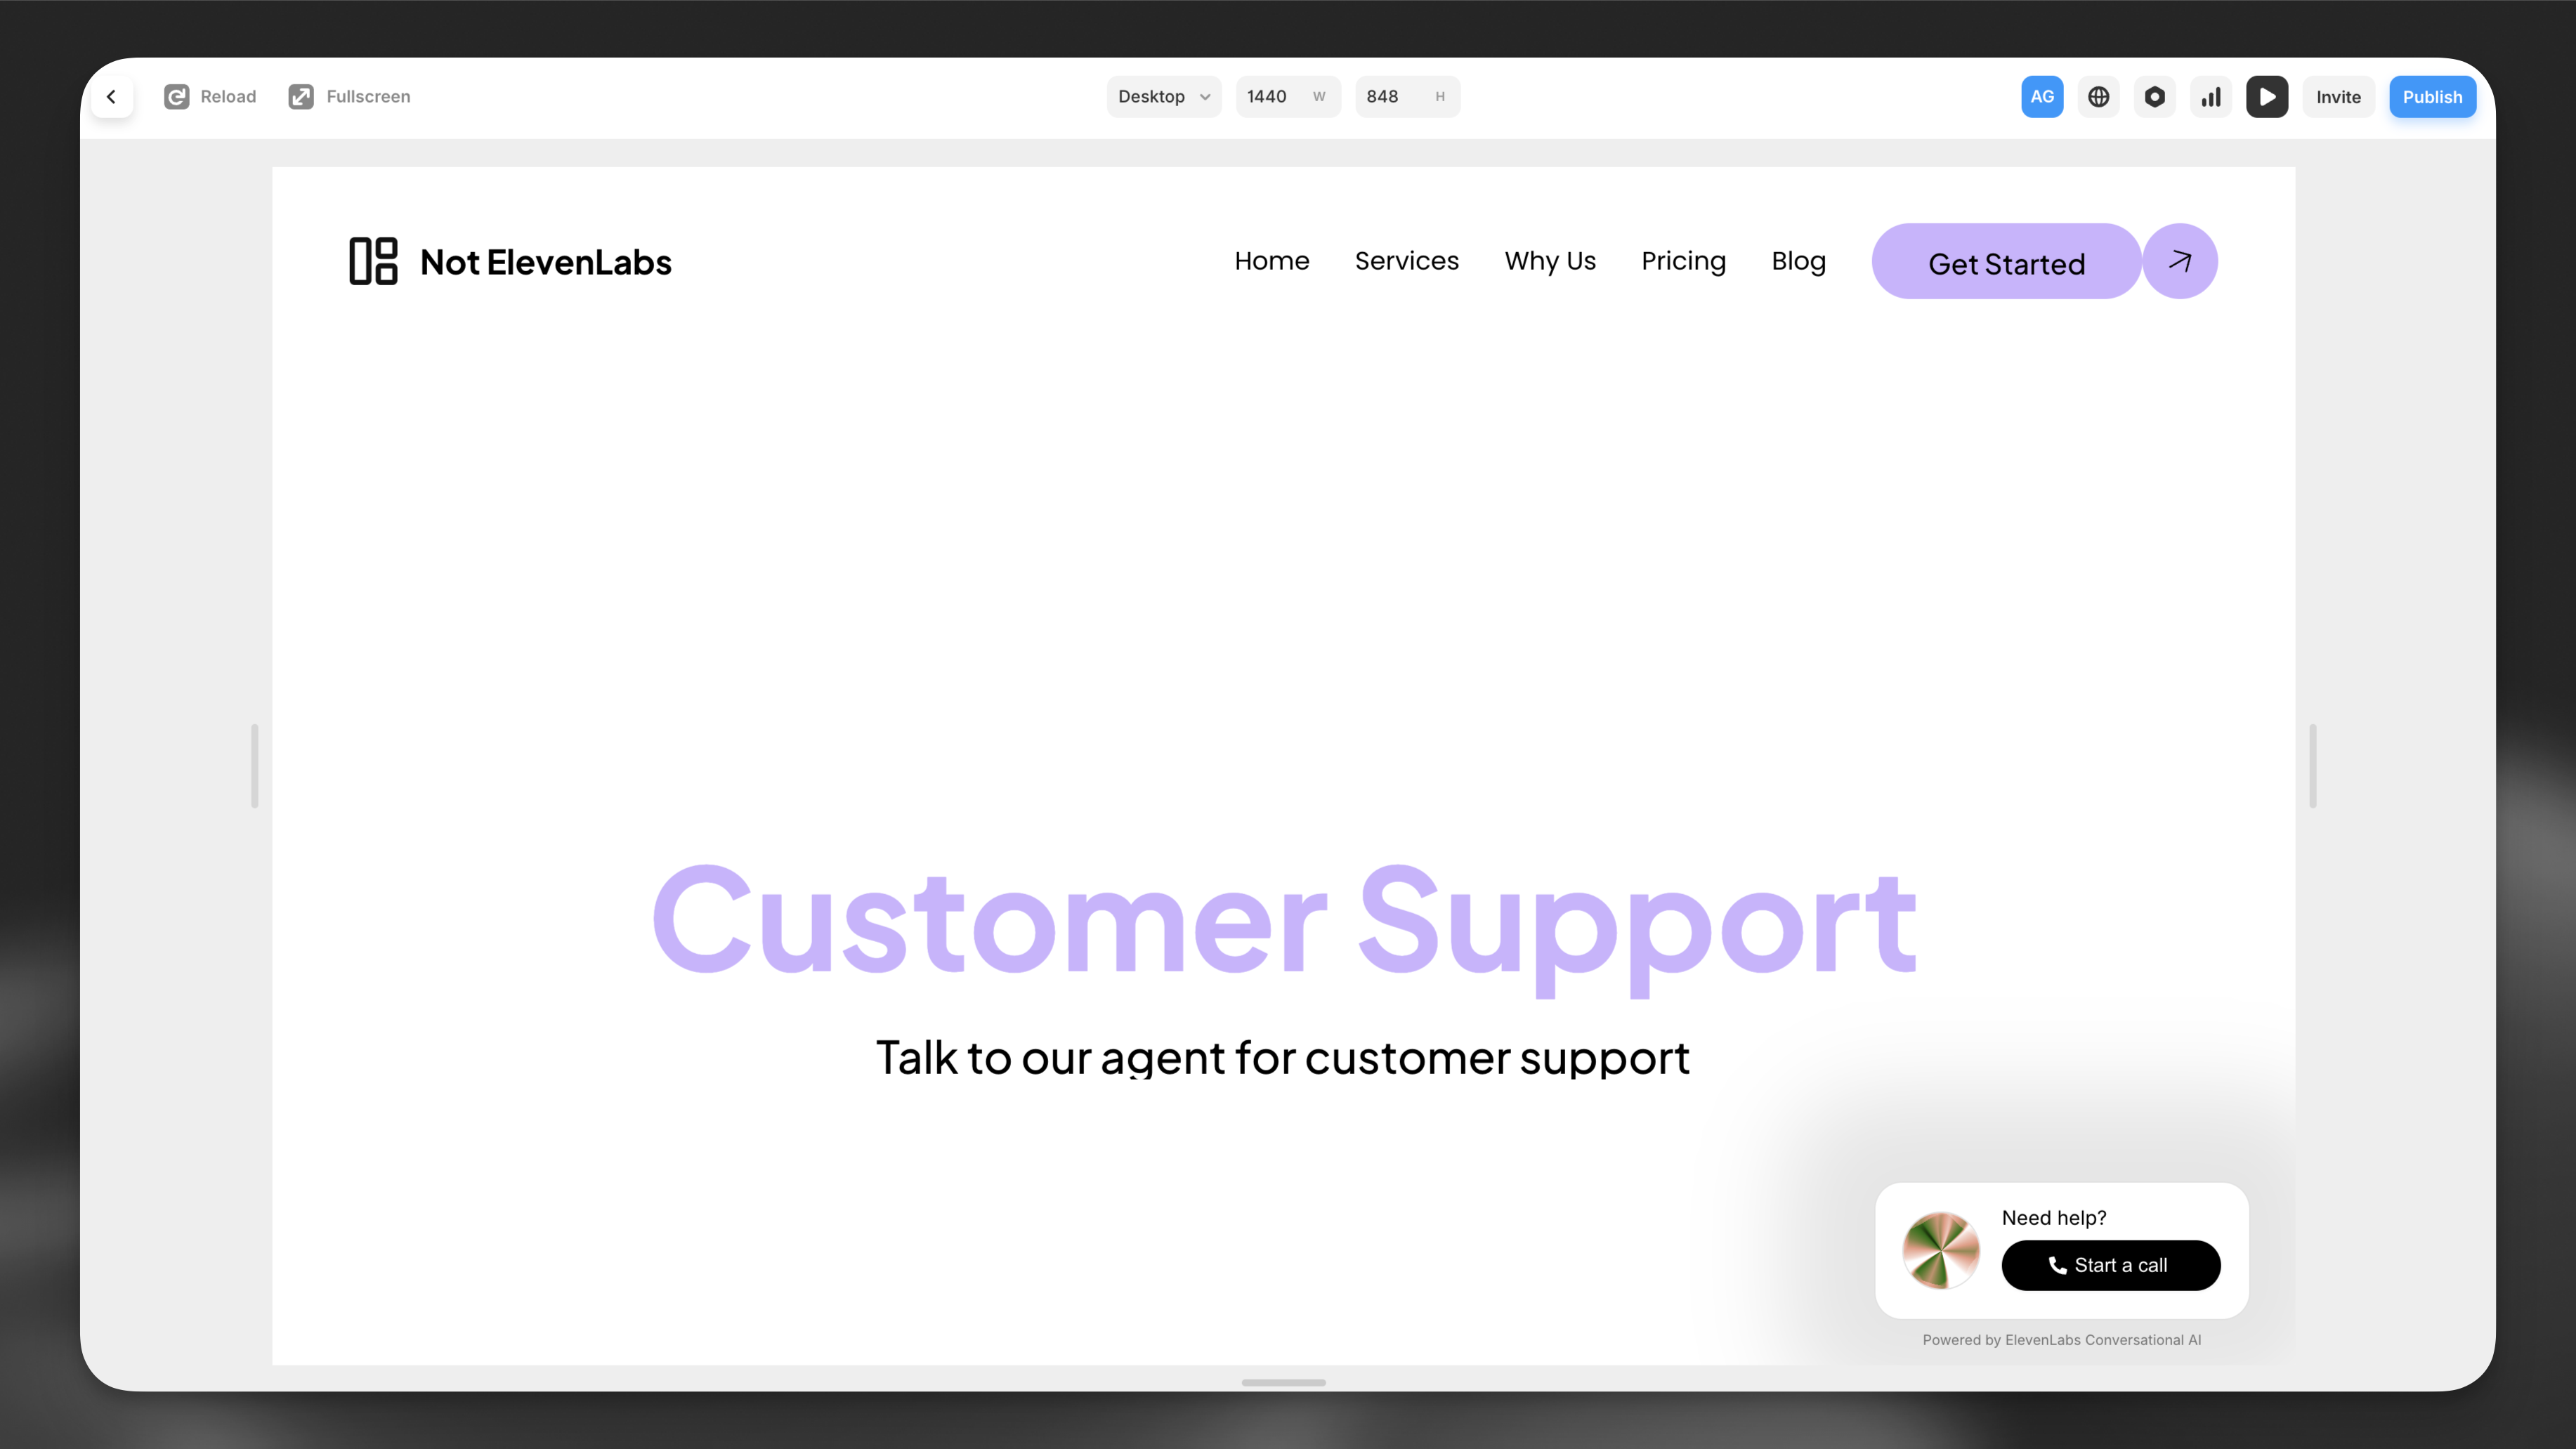
Open your website in the Framer editor and click on the primary desktop on the left.
Copy and paste the following url into the page you would like to add the ElevenLabs agent to:
```
https://framer.com/m/ConversationalAI-iHql.js@y7VwRka75sp0UFqGliIf
```
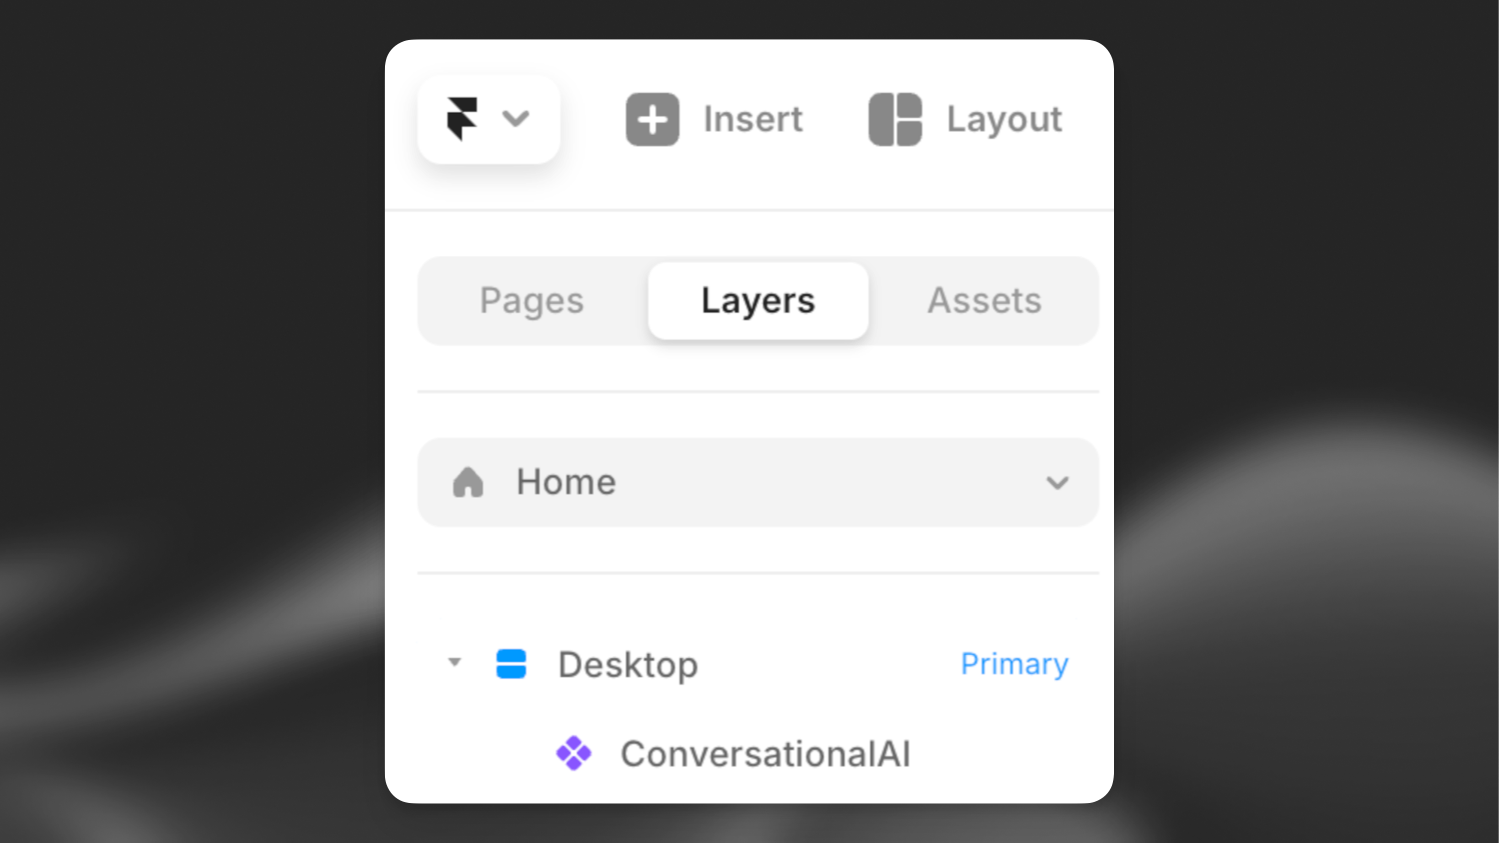
You'll now see a ElevenAgents asset on the 'Layers' bar on the left and the ElevenAgents component's details on the right.
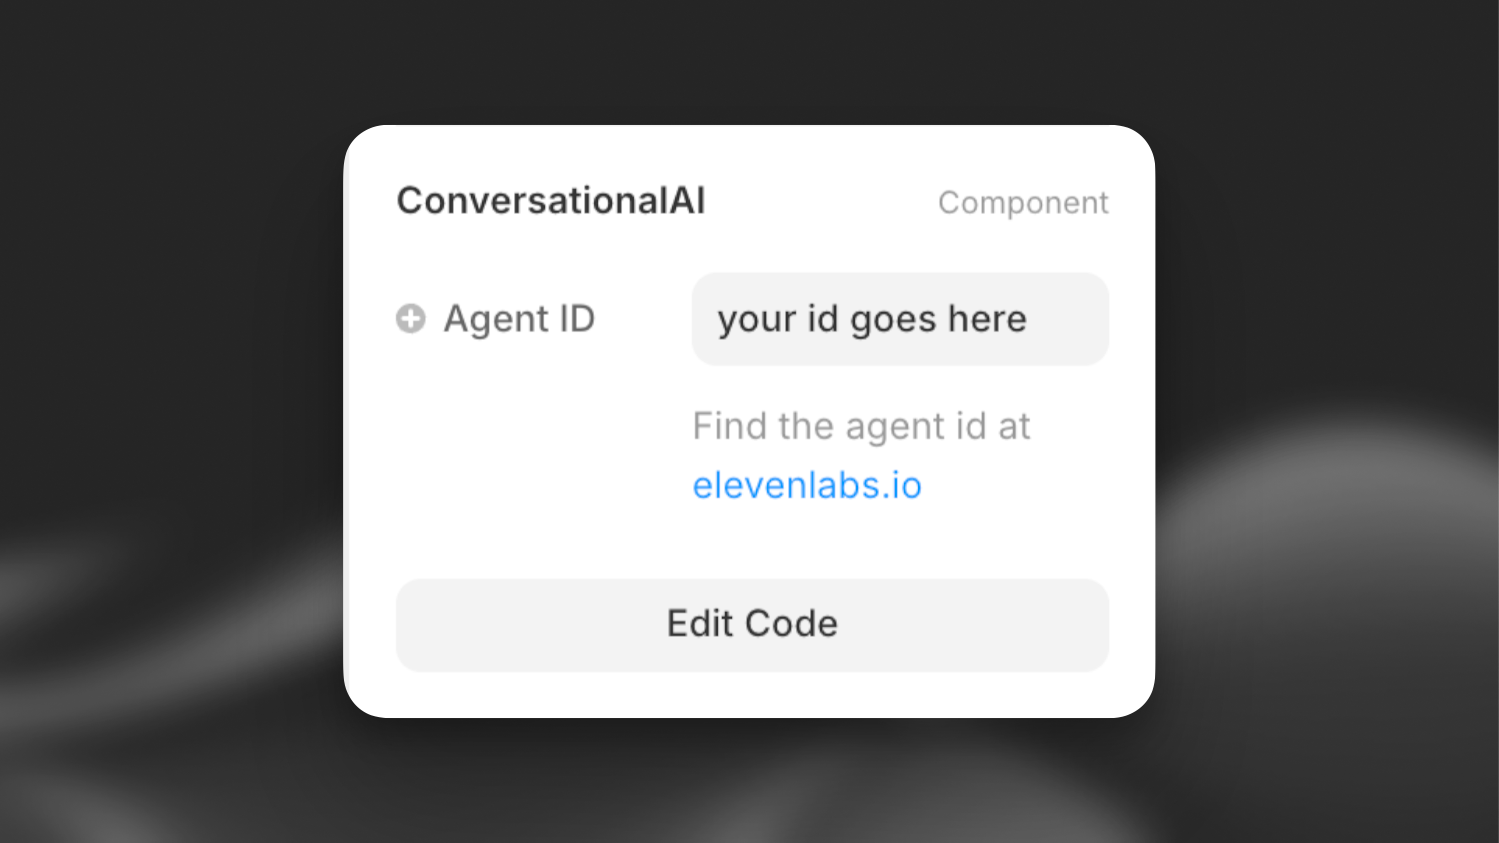
Enable the ElevenLabs agent by filling in the agent ID in the bar on the right.
You can find the agent ID in the [ElevenLabs dashboard](https://elevenlabs.io/app/agents).
Having trouble? Make sure the ElevenAgents component is placed below the desktop component in the layers panel.
## Guide
Open your website in the Framer editor and click on the primary desktop on the left.
Copy and paste the following url into the page you would like to add the ElevenLabs agent to:
```
https://framer.com/m/ConversationalAI-iHql.js@y7VwRka75sp0UFqGliIf
```
You'll now see a ElevenAgents asset on the 'Layers' bar on the left and the ElevenAgents component's details on the right.
Enable the ElevenLabs agent by filling in the agent ID in the bar on the right.
You can find the agent ID in the [ElevenLabs dashboard](https://elevenlabs.io/app/agents).
Having trouble? Make sure the ElevenAgents component is placed below the desktop component in the layers panel.
 ## Next steps
Now that you have added your ElevenLabs agent to your Framer website, you can:
1. Customize the widget in the ElevenLabs dashboard to match your brand
2. Add additional languages
3. Add advanced functionality like tools & knowledge base.
## Next steps
Now that you have added your ElevenLabs agent to your Framer website, you can:
1. Customize the widget in the ElevenLabs dashboard to match your brand
2. Add additional languages
3. Add advanced functionality like tools & knowledge base.